Select the warehouse you want to work in. Your selection is remembered for the rest of the session, but can be changed at any time.
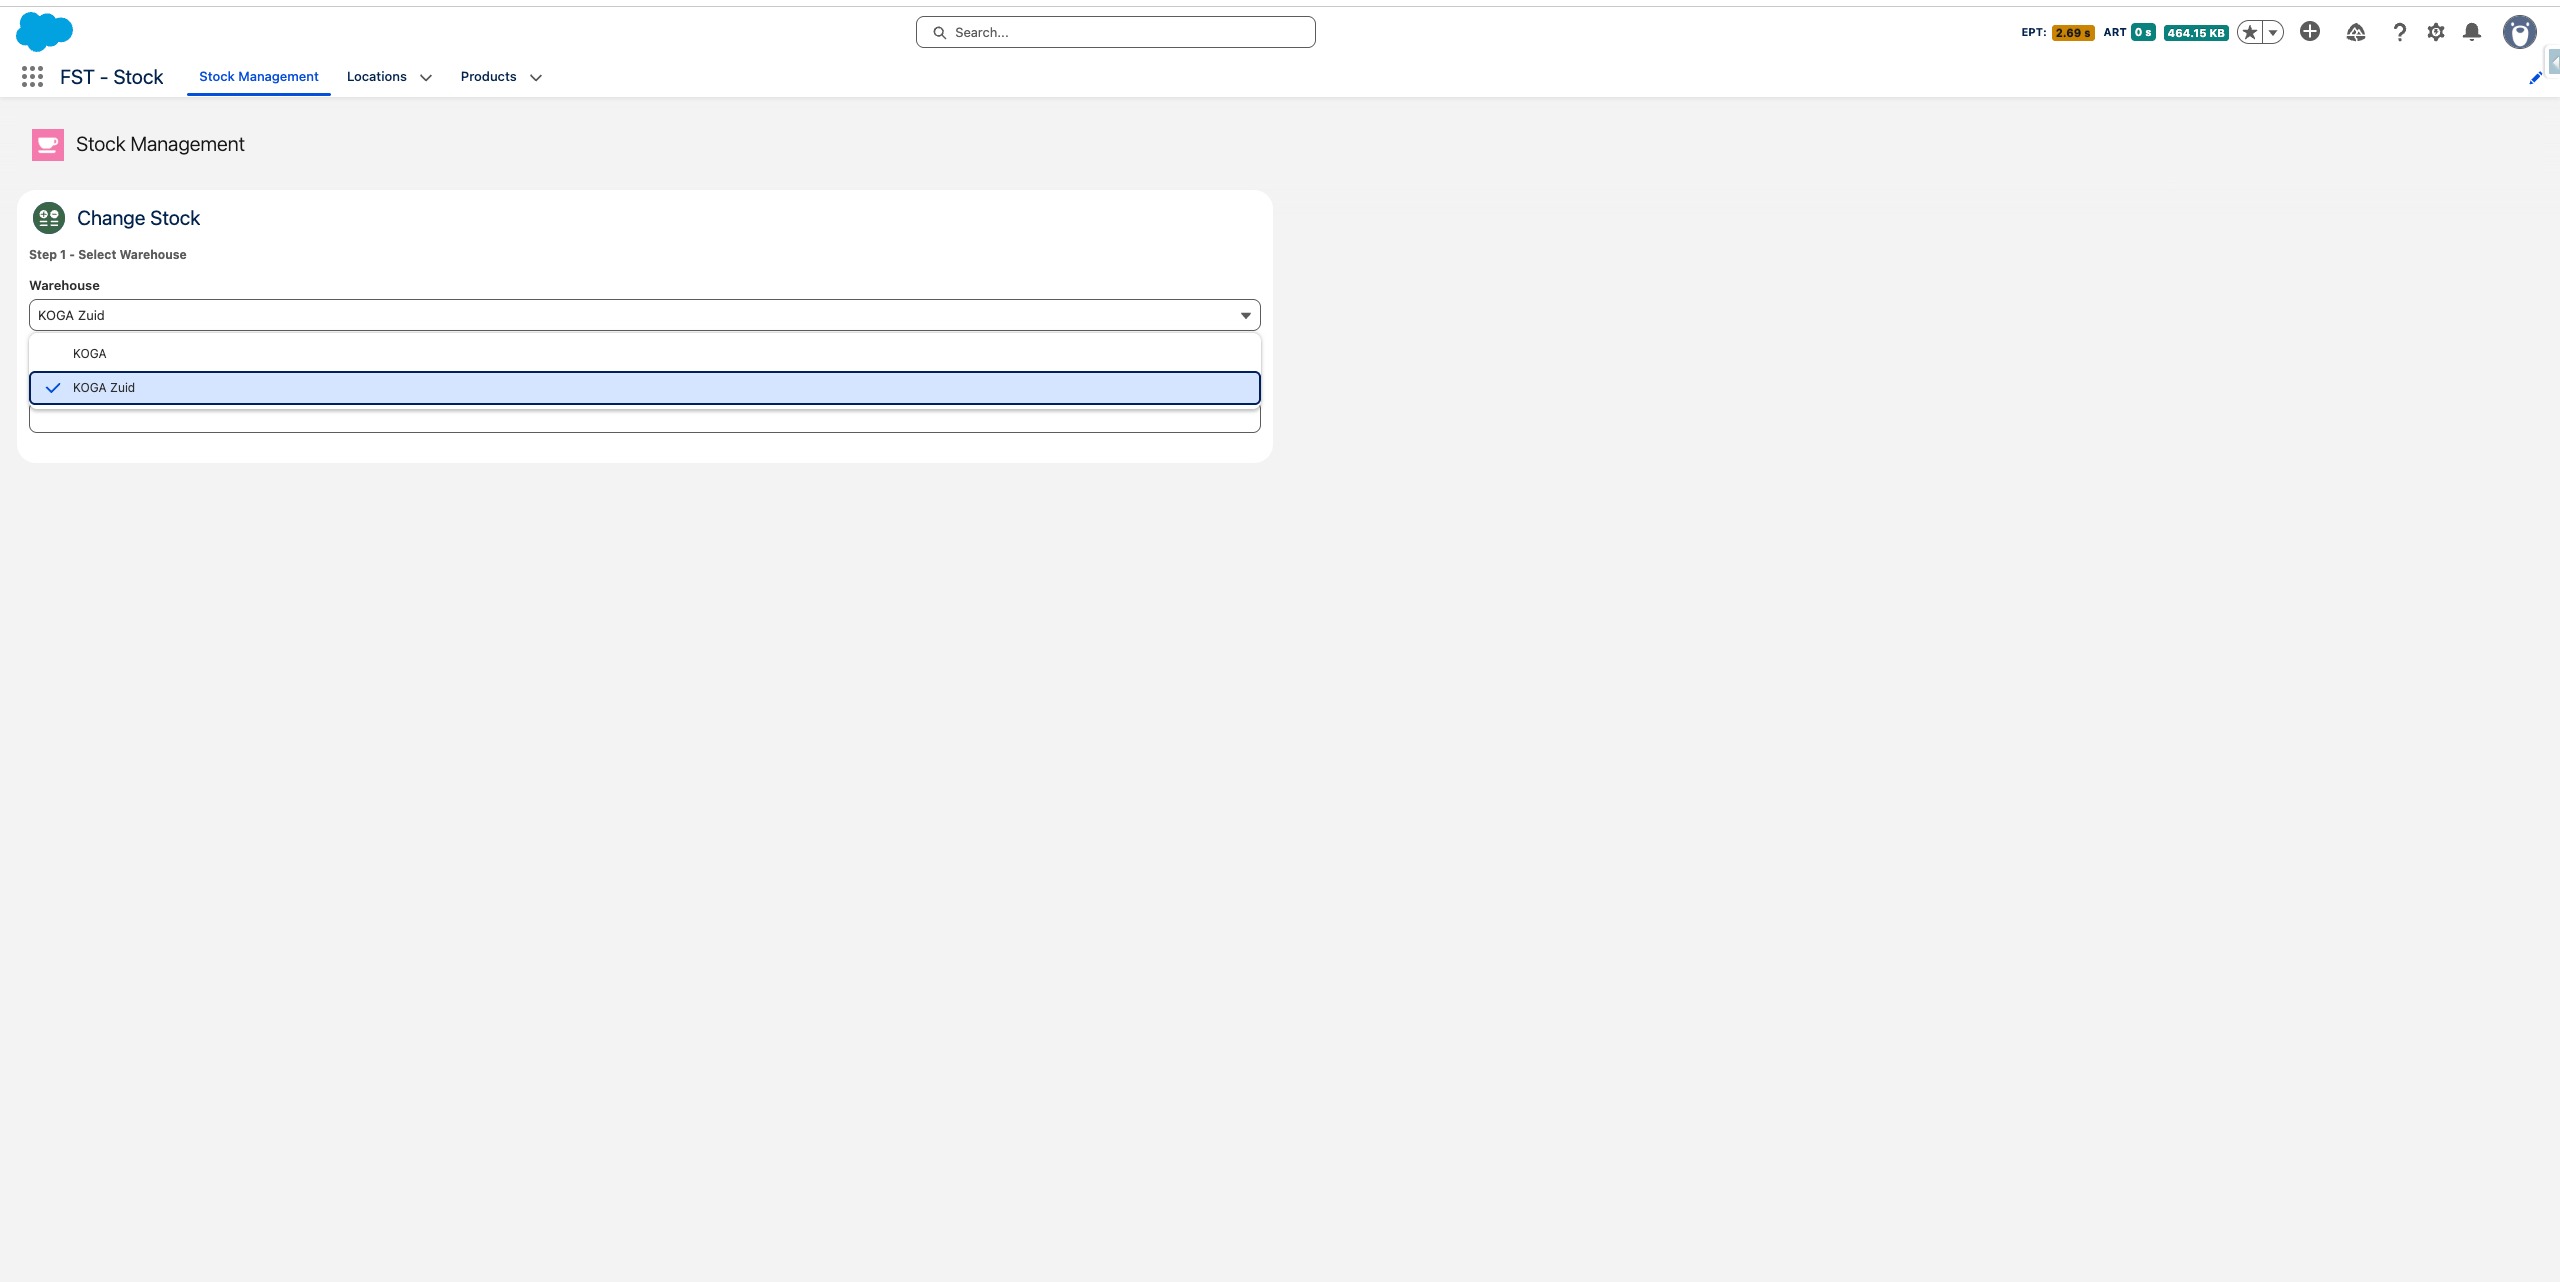
Drag to pan
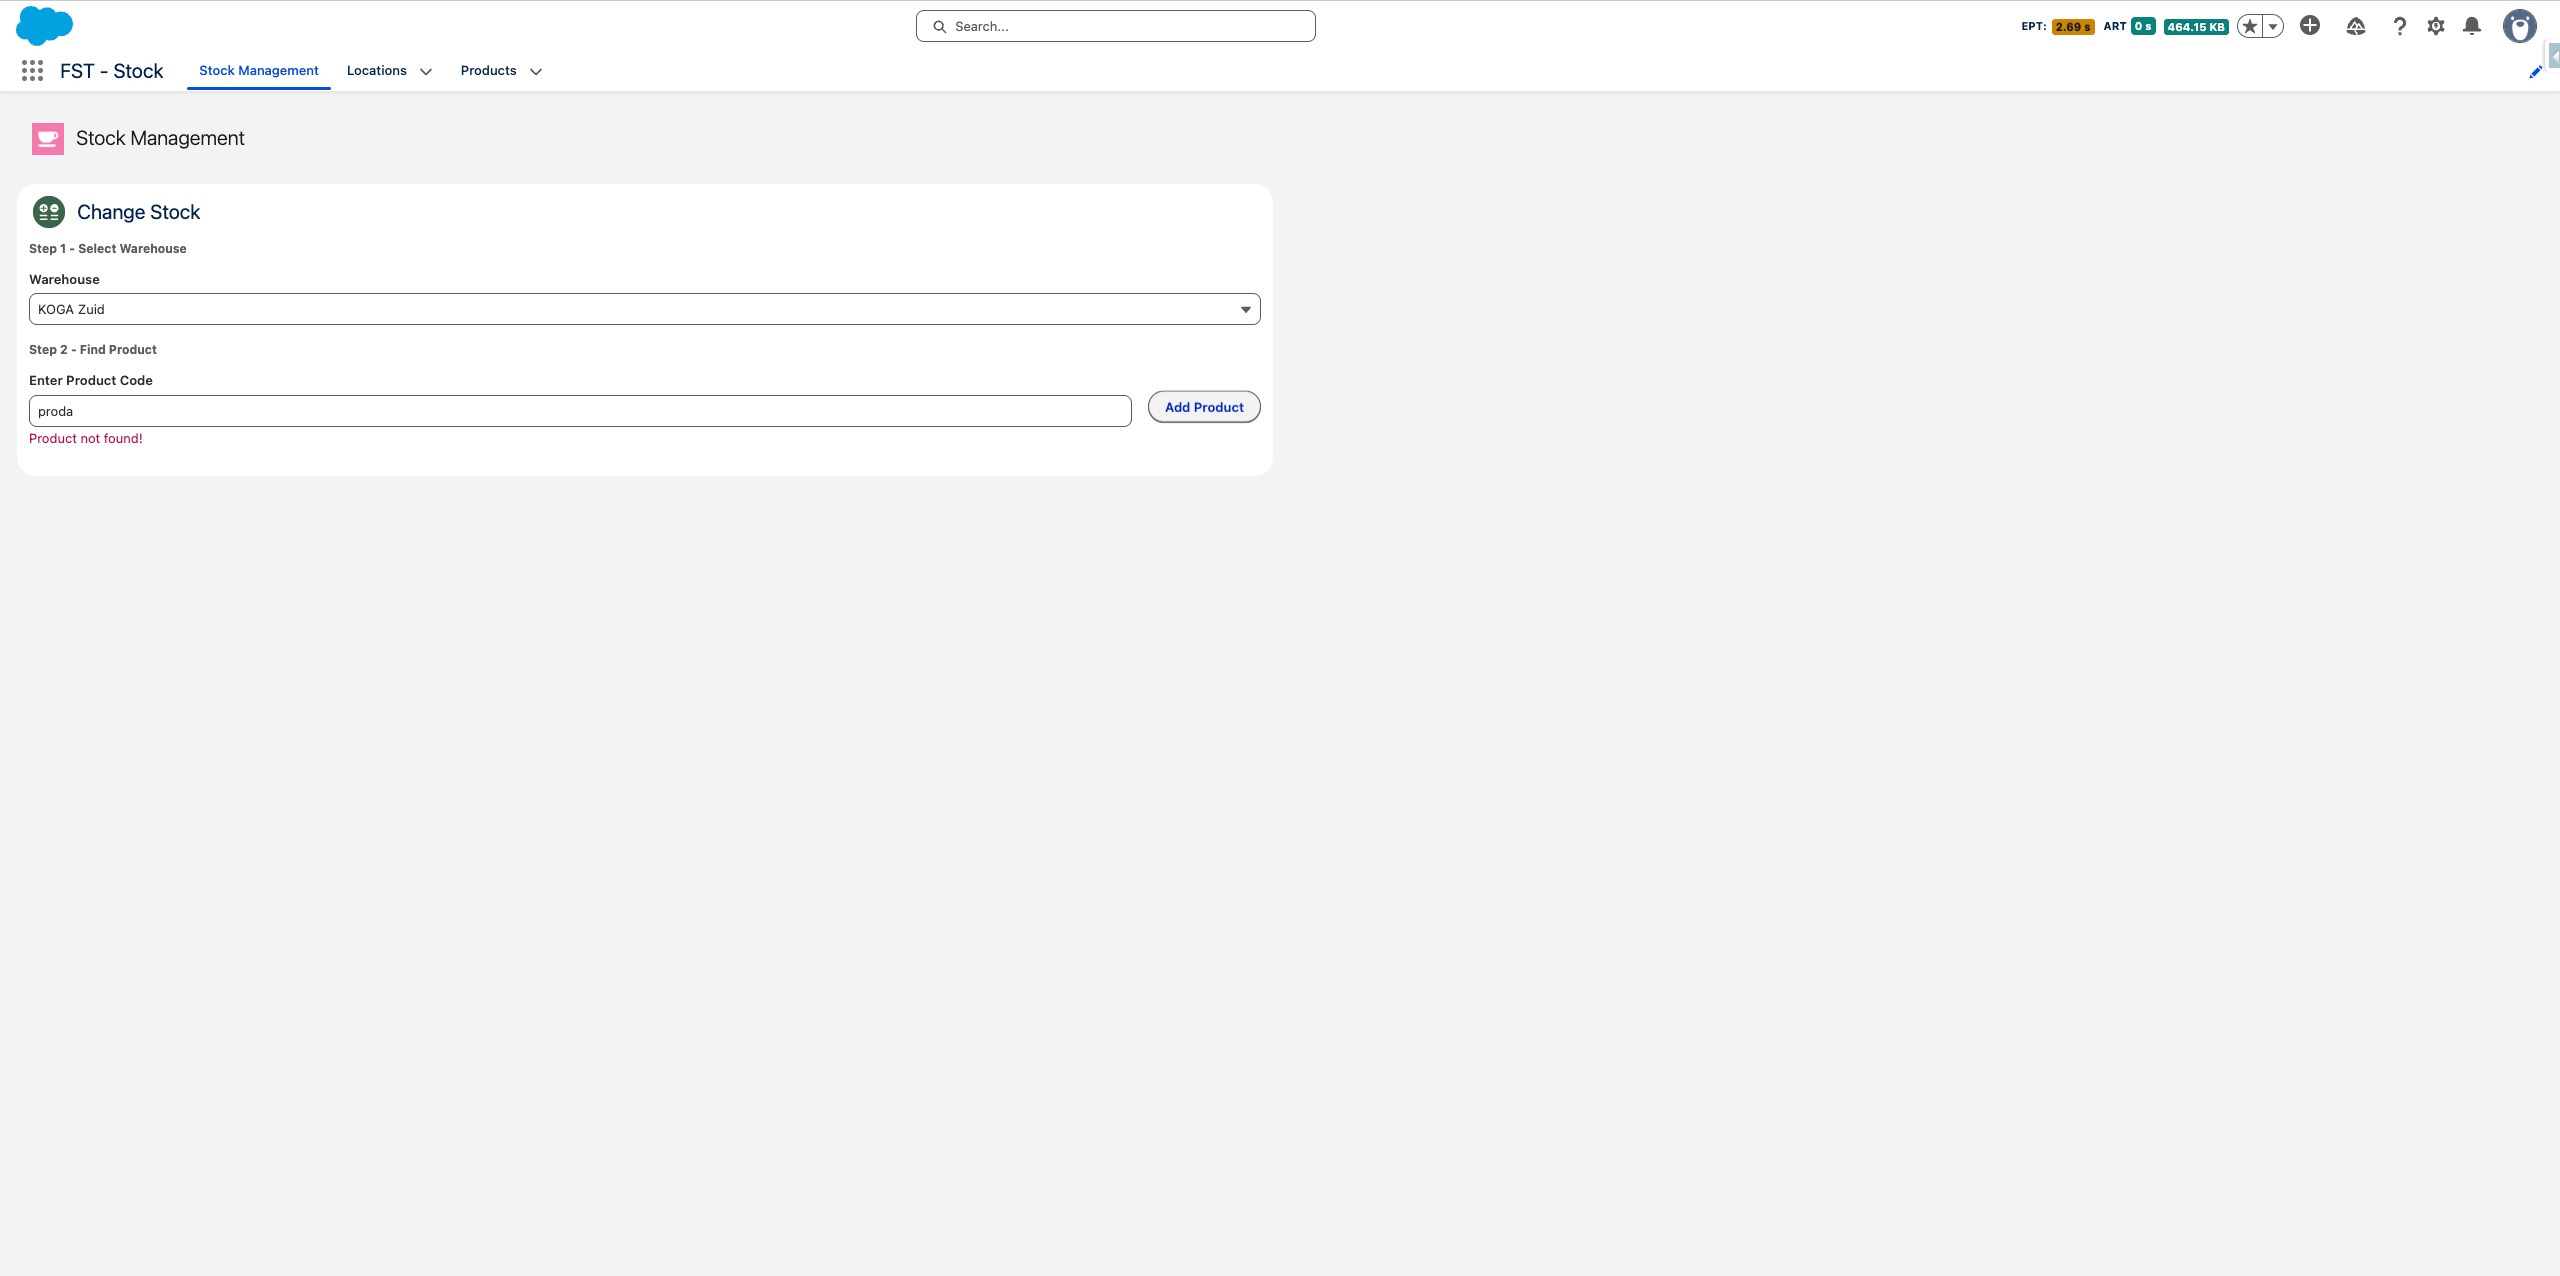
Enter the product code to find the item. On desktop, type it manually — on mobile, use the barcode scanner.
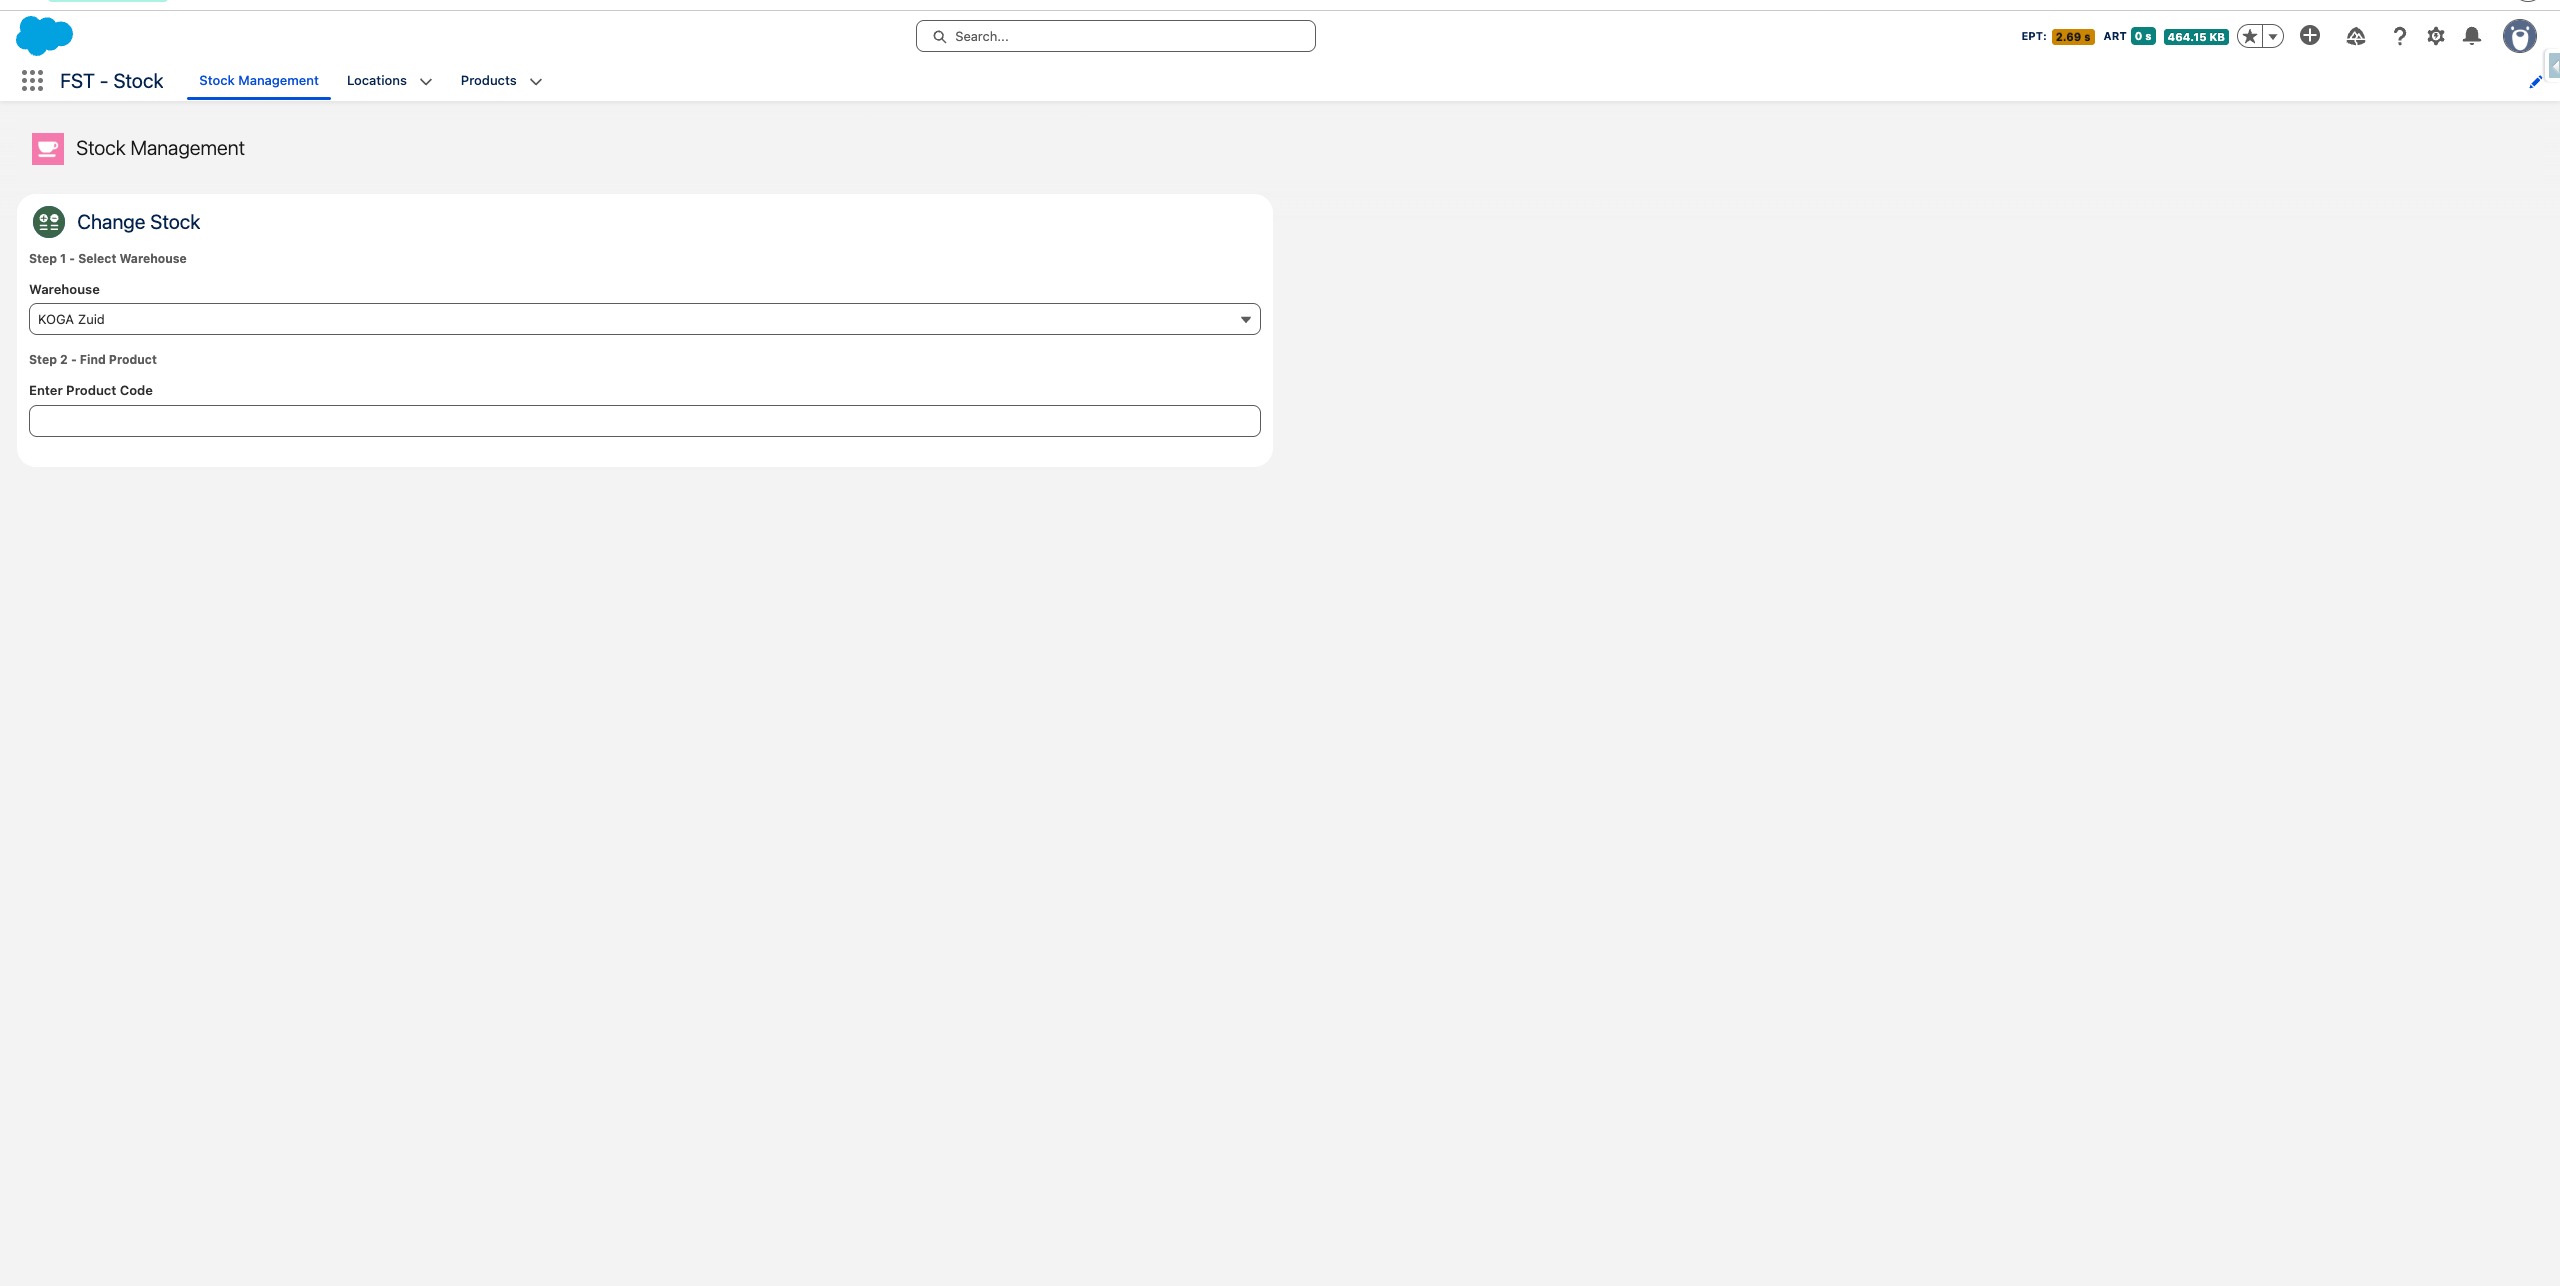
Drag to pan
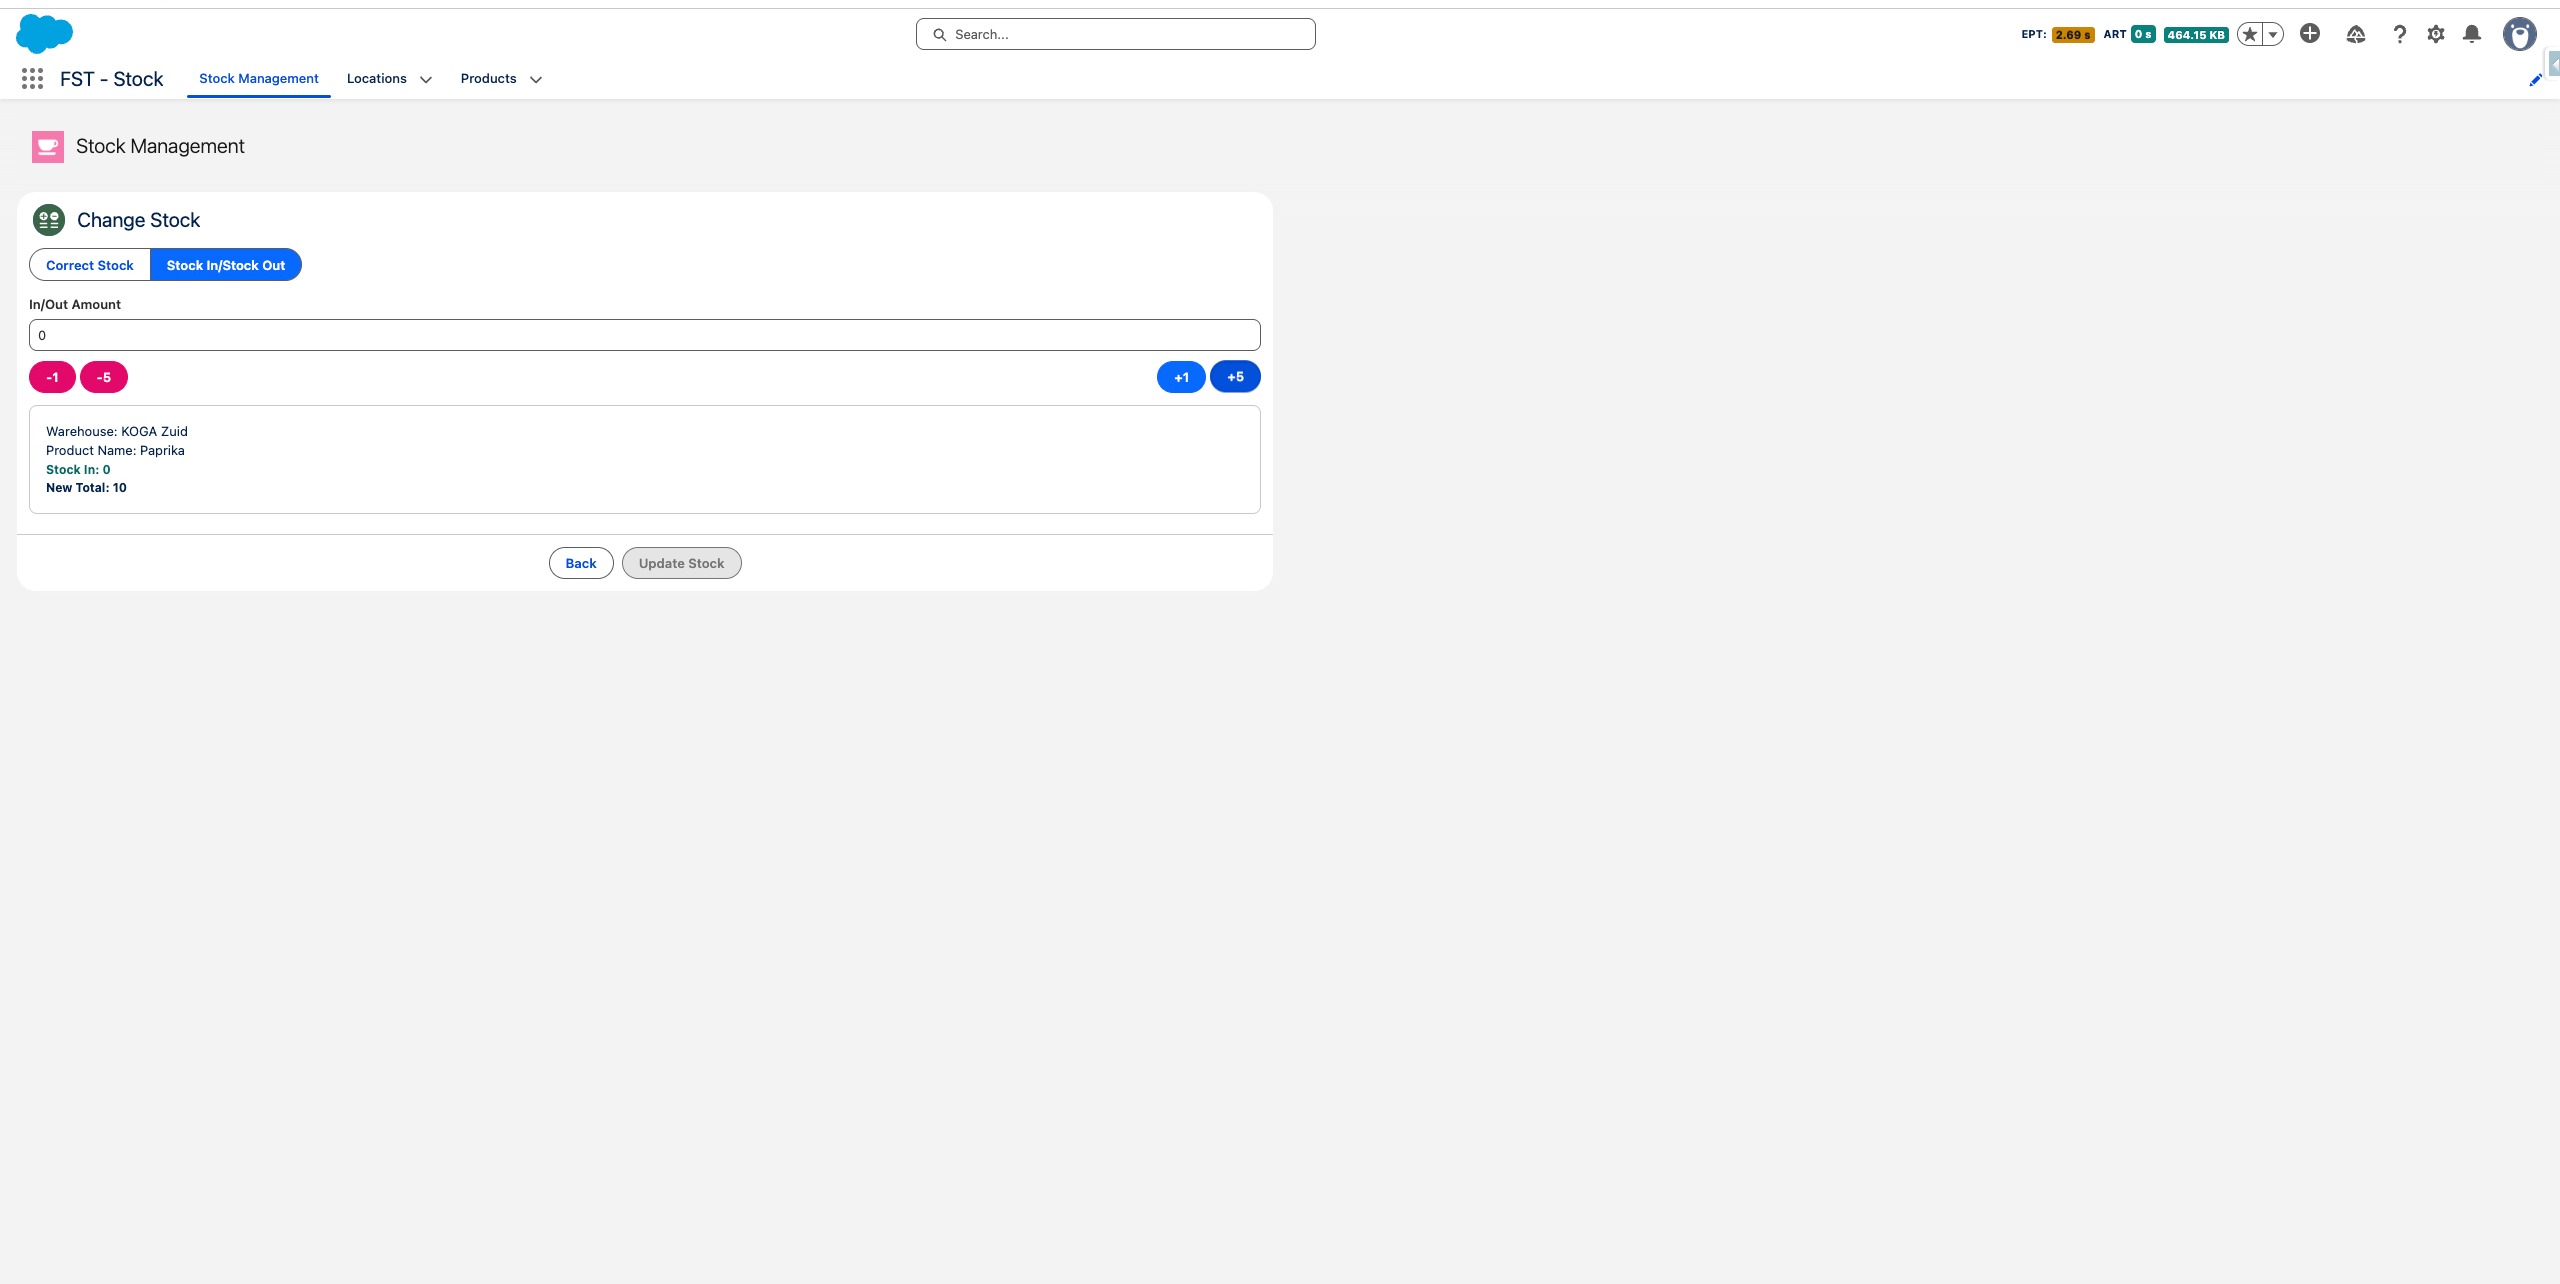
Stock IN
The default mode is Stock In / Stock Out. Use the +/- buttons or type the amount directly into the input field to register incoming or outgoing stock.
Press Update Stock to confirm and save the transaction.
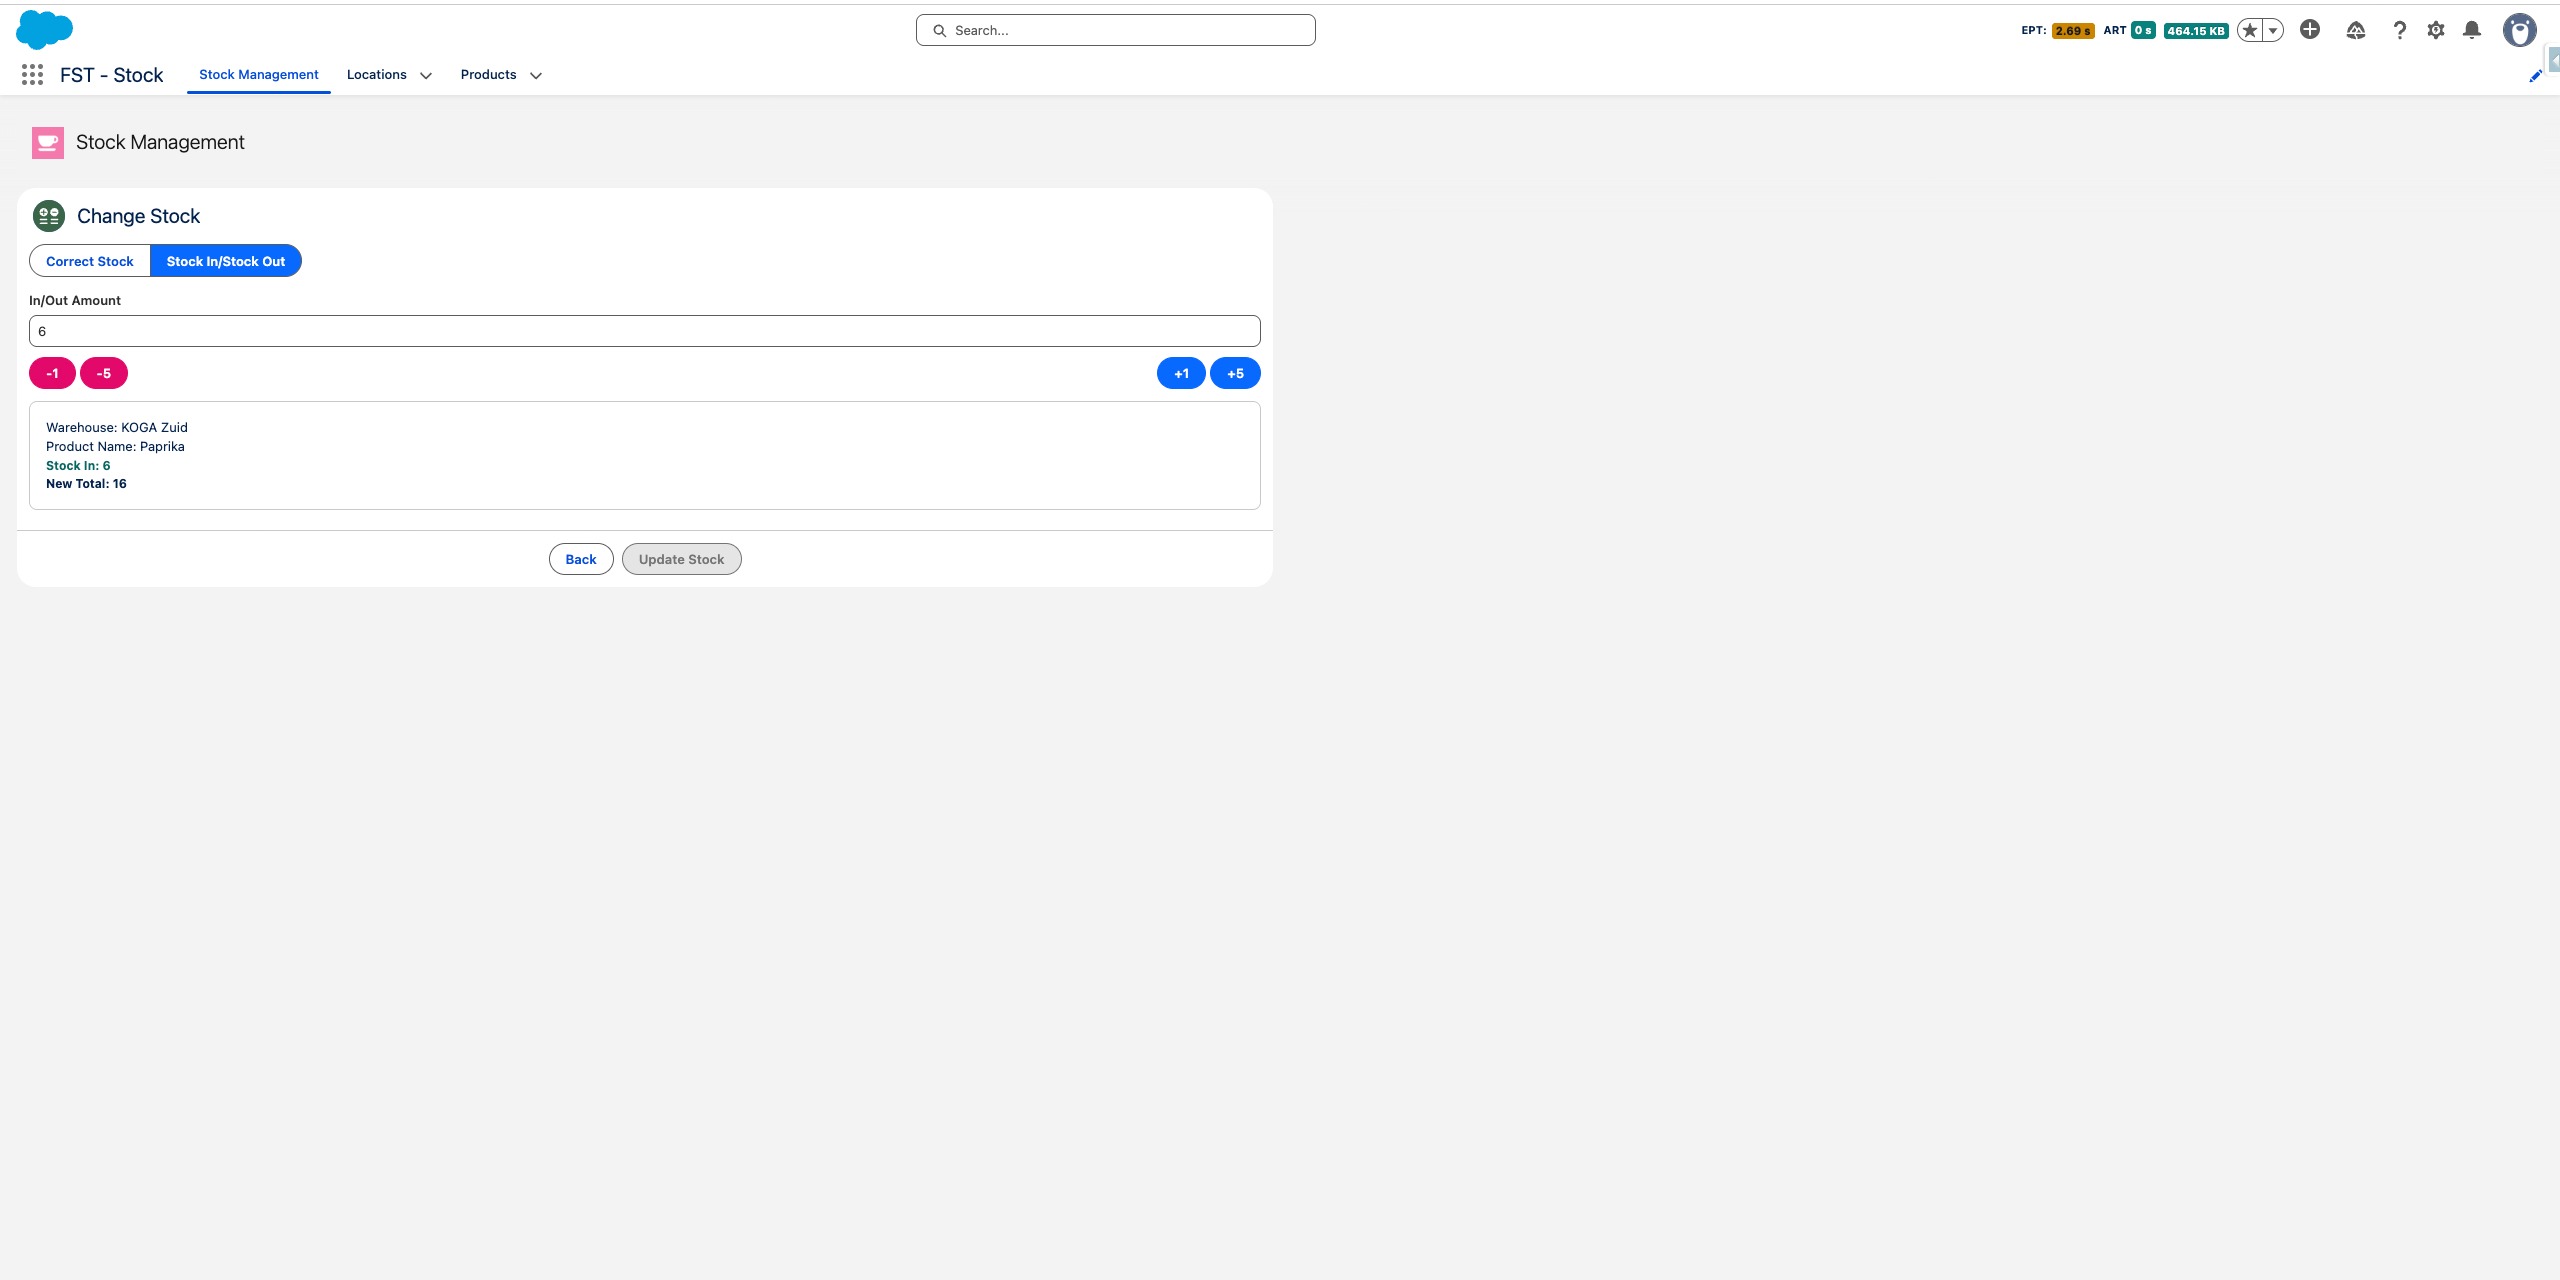
Stock OUT
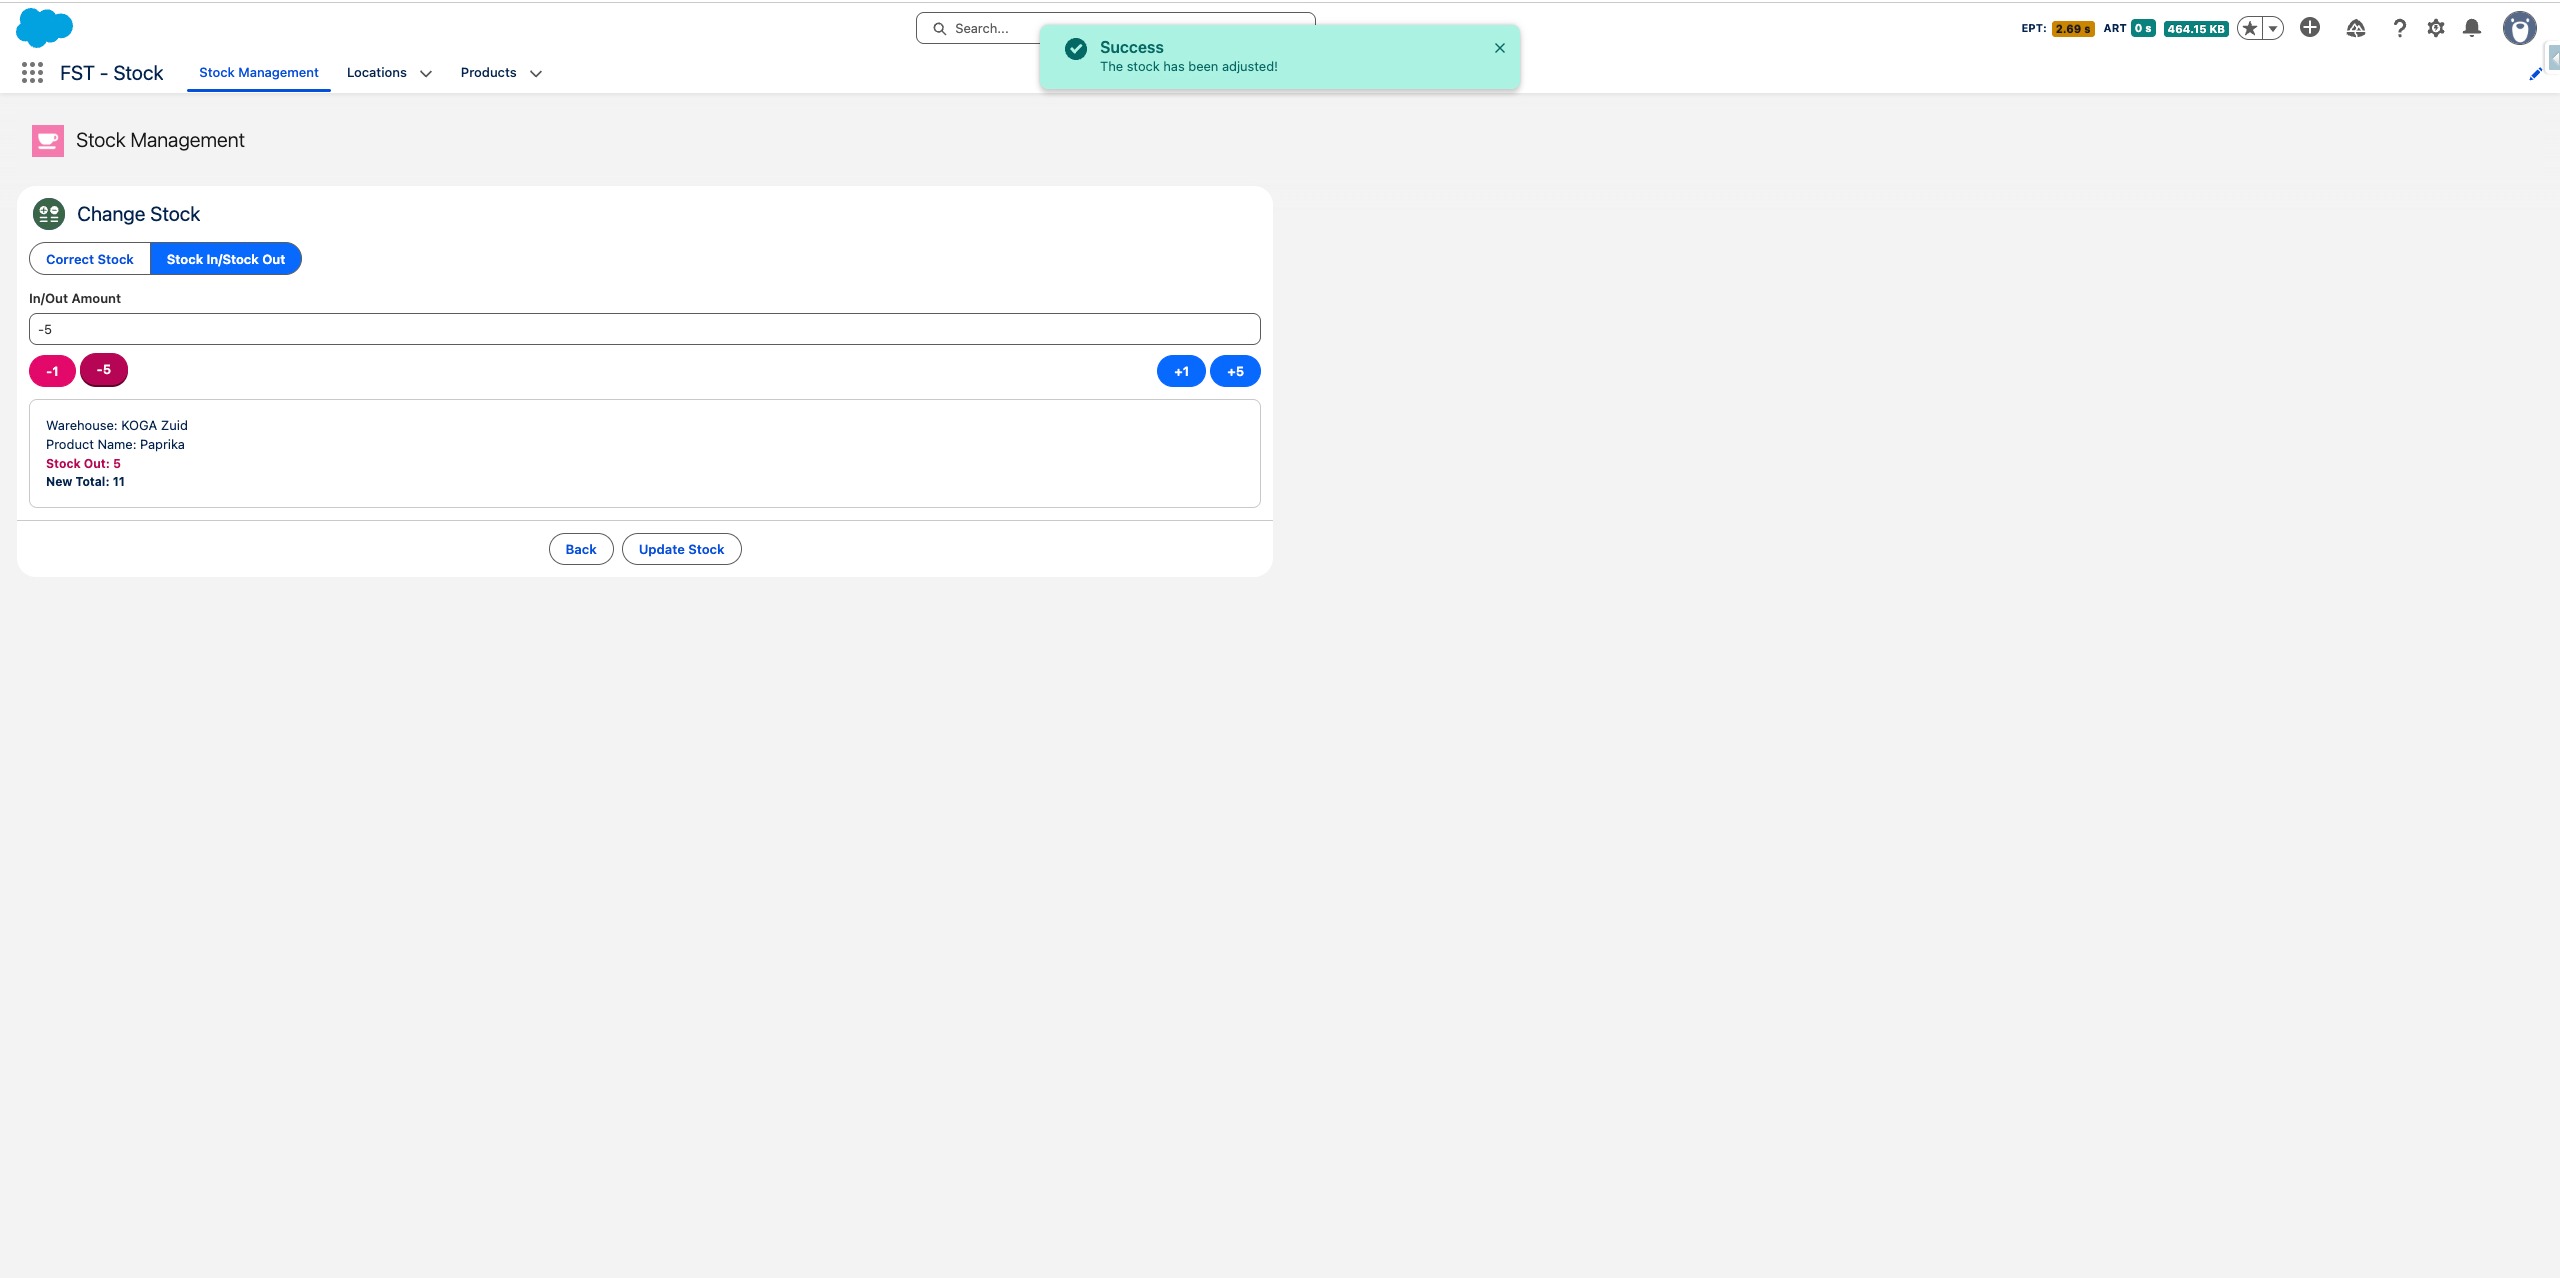
To register a stock out, use the decrease buttons or type a negative amount
Drag to pan
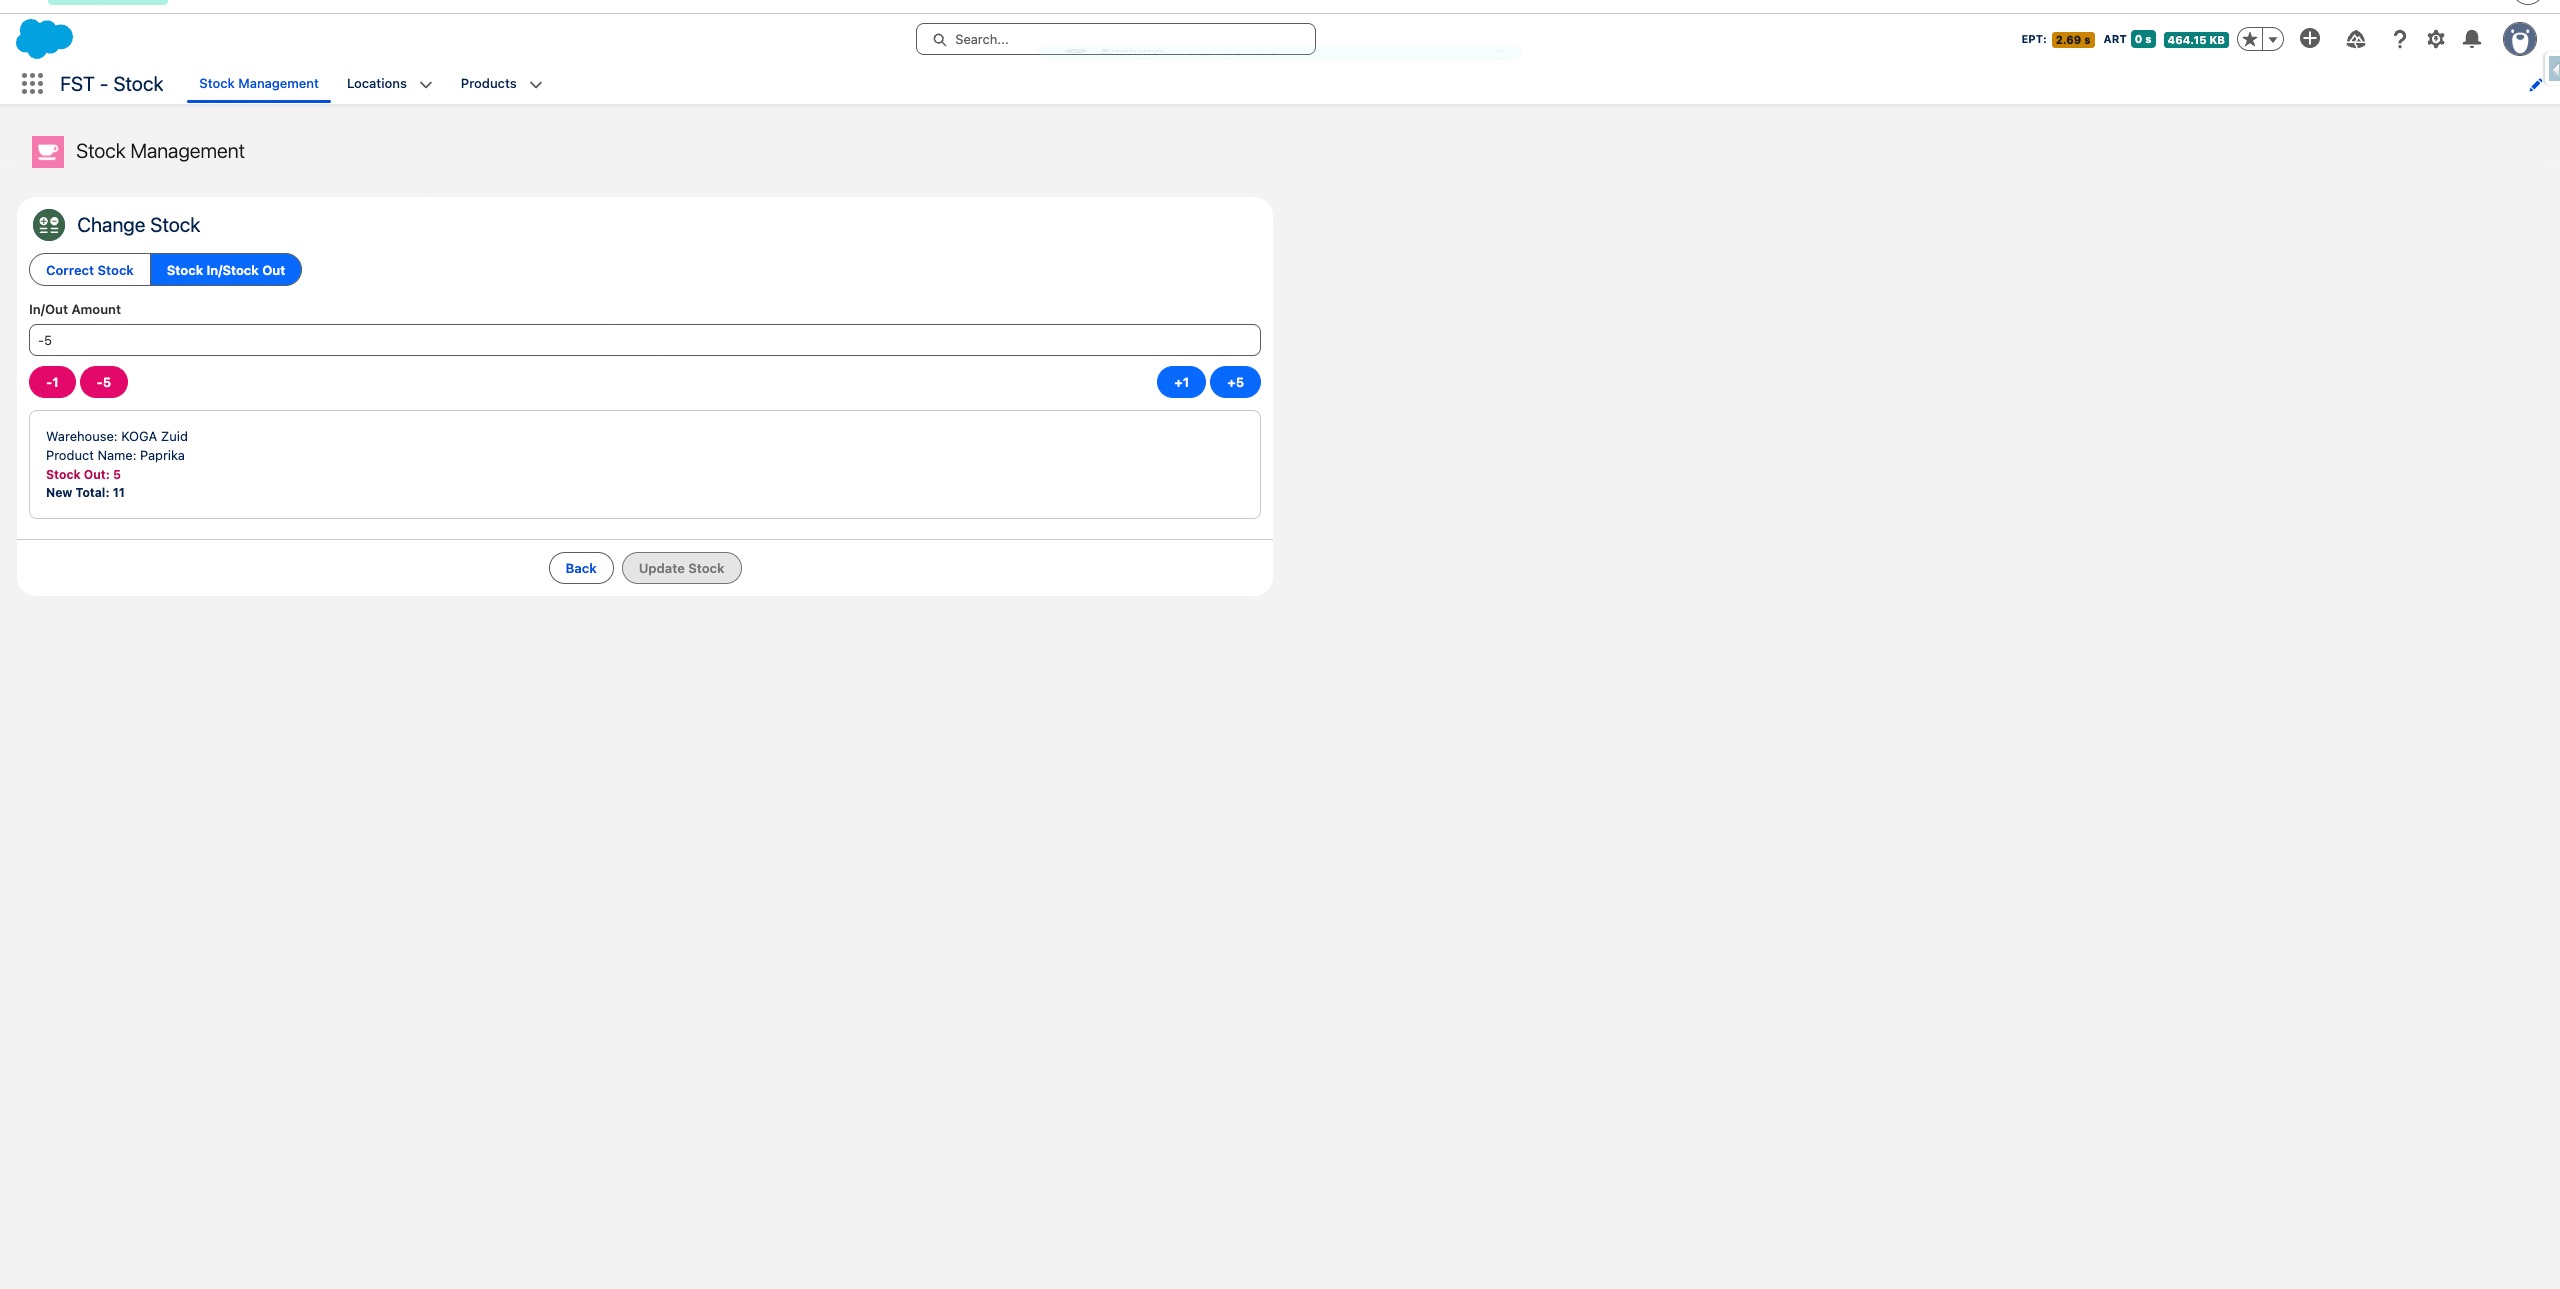
Press Update Stock to save the stock out and update the total.
Drag to pan
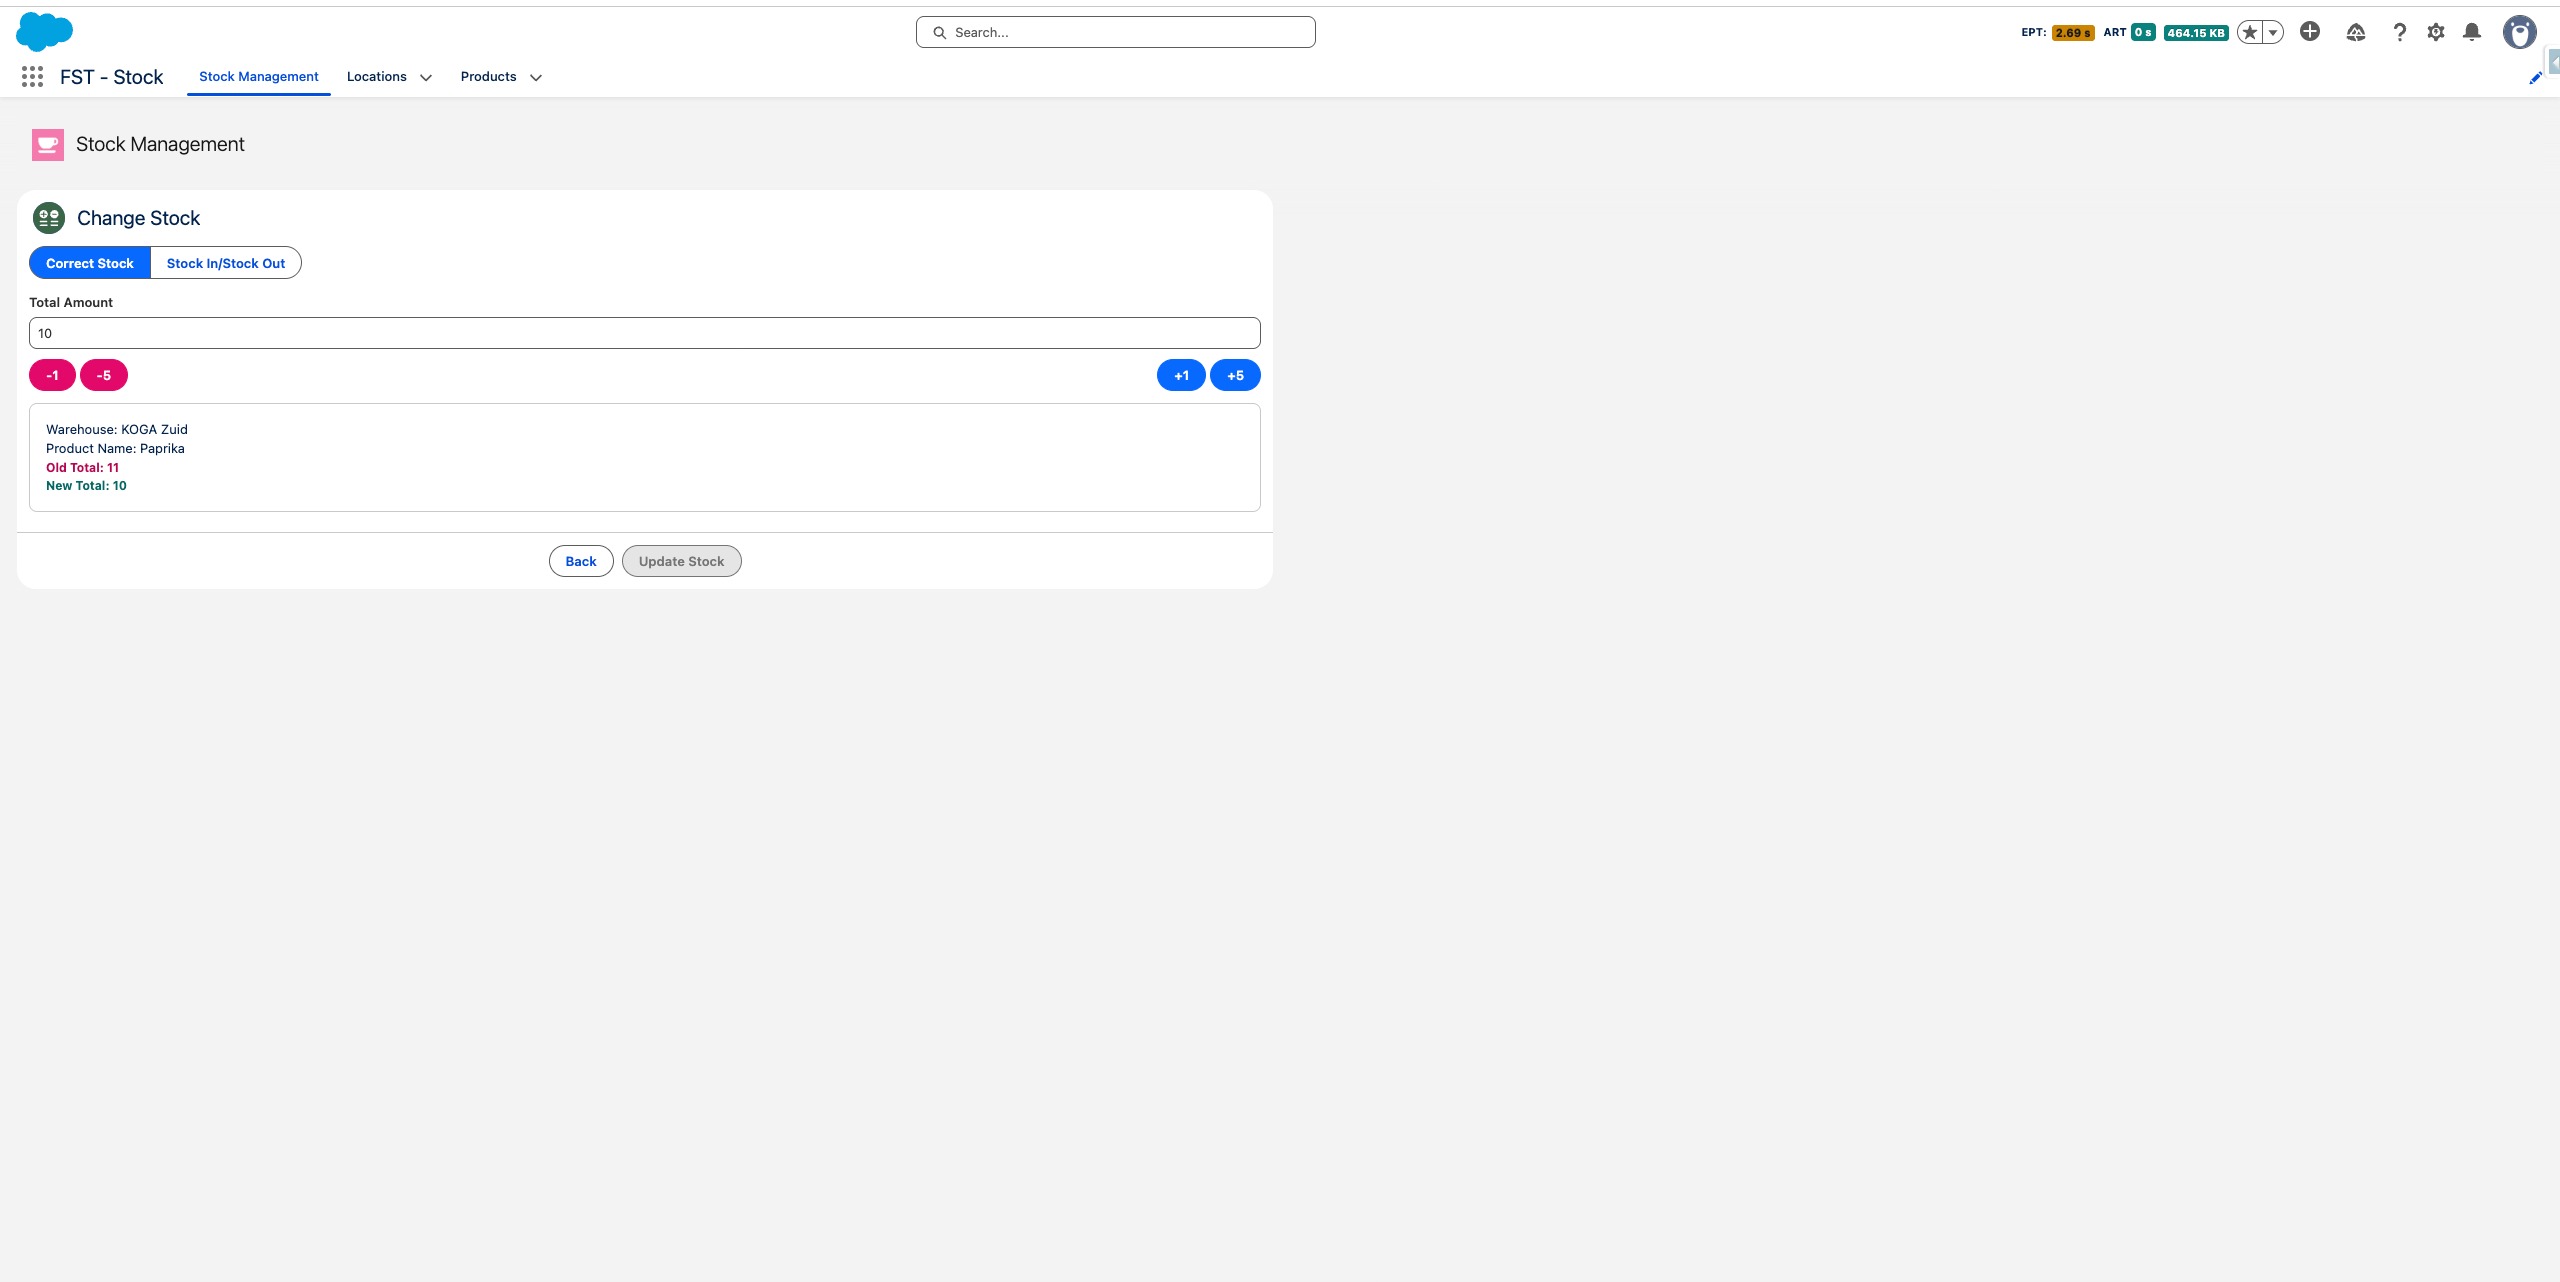
Correct Stock
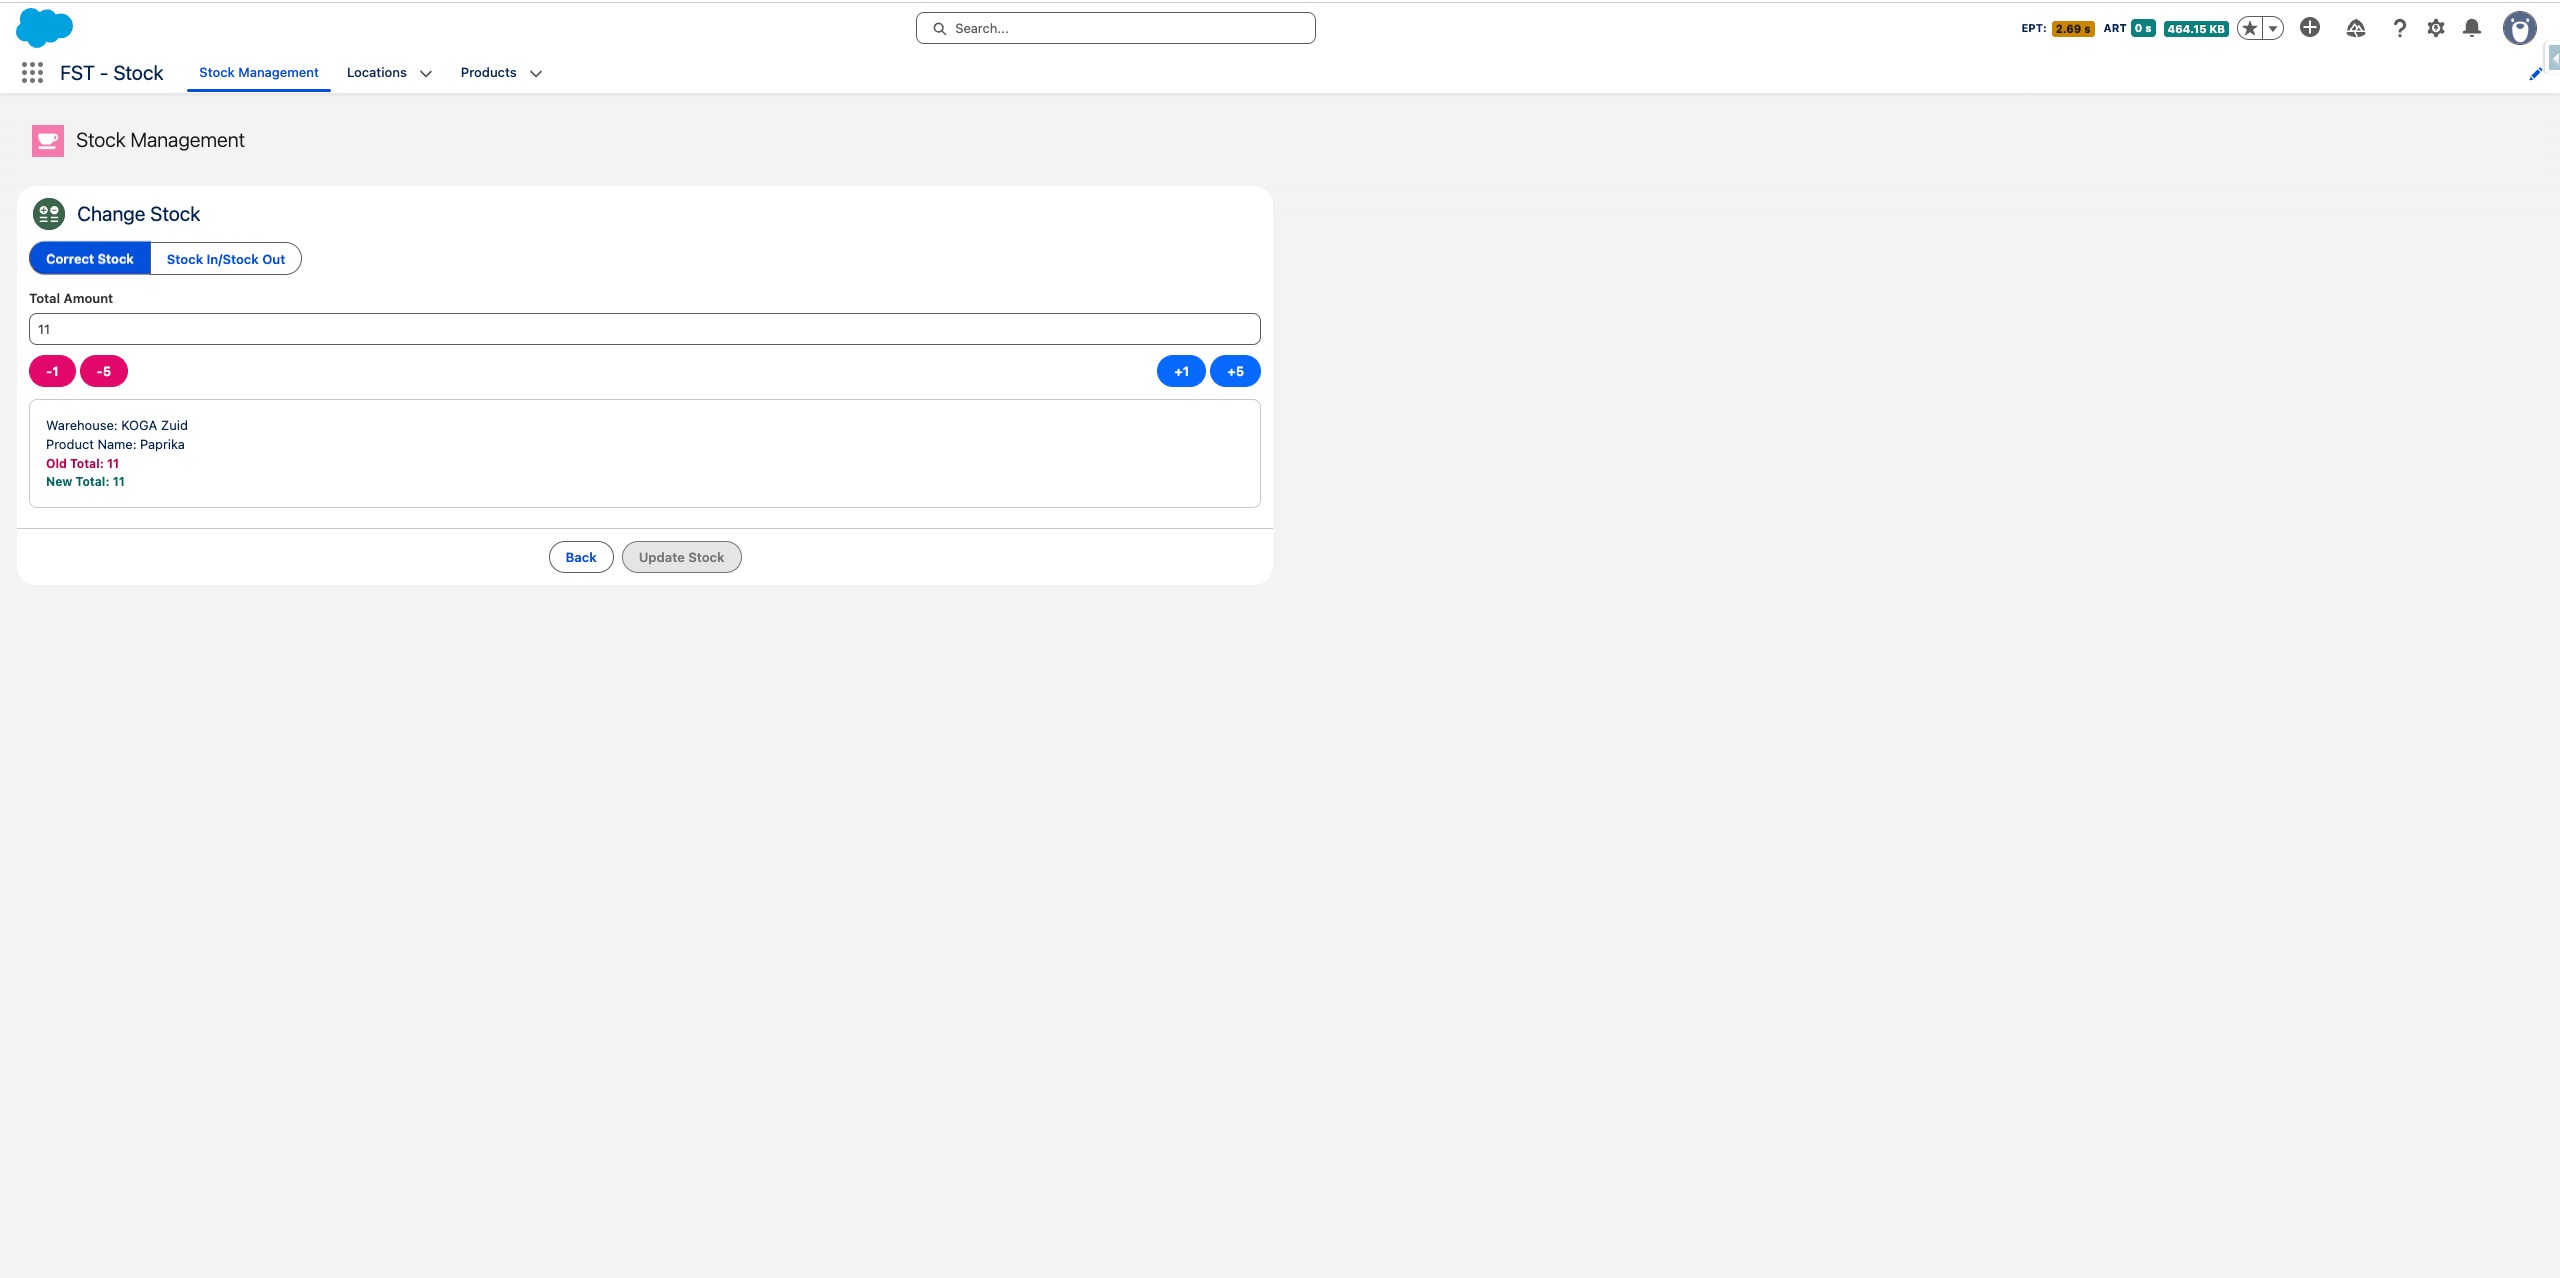
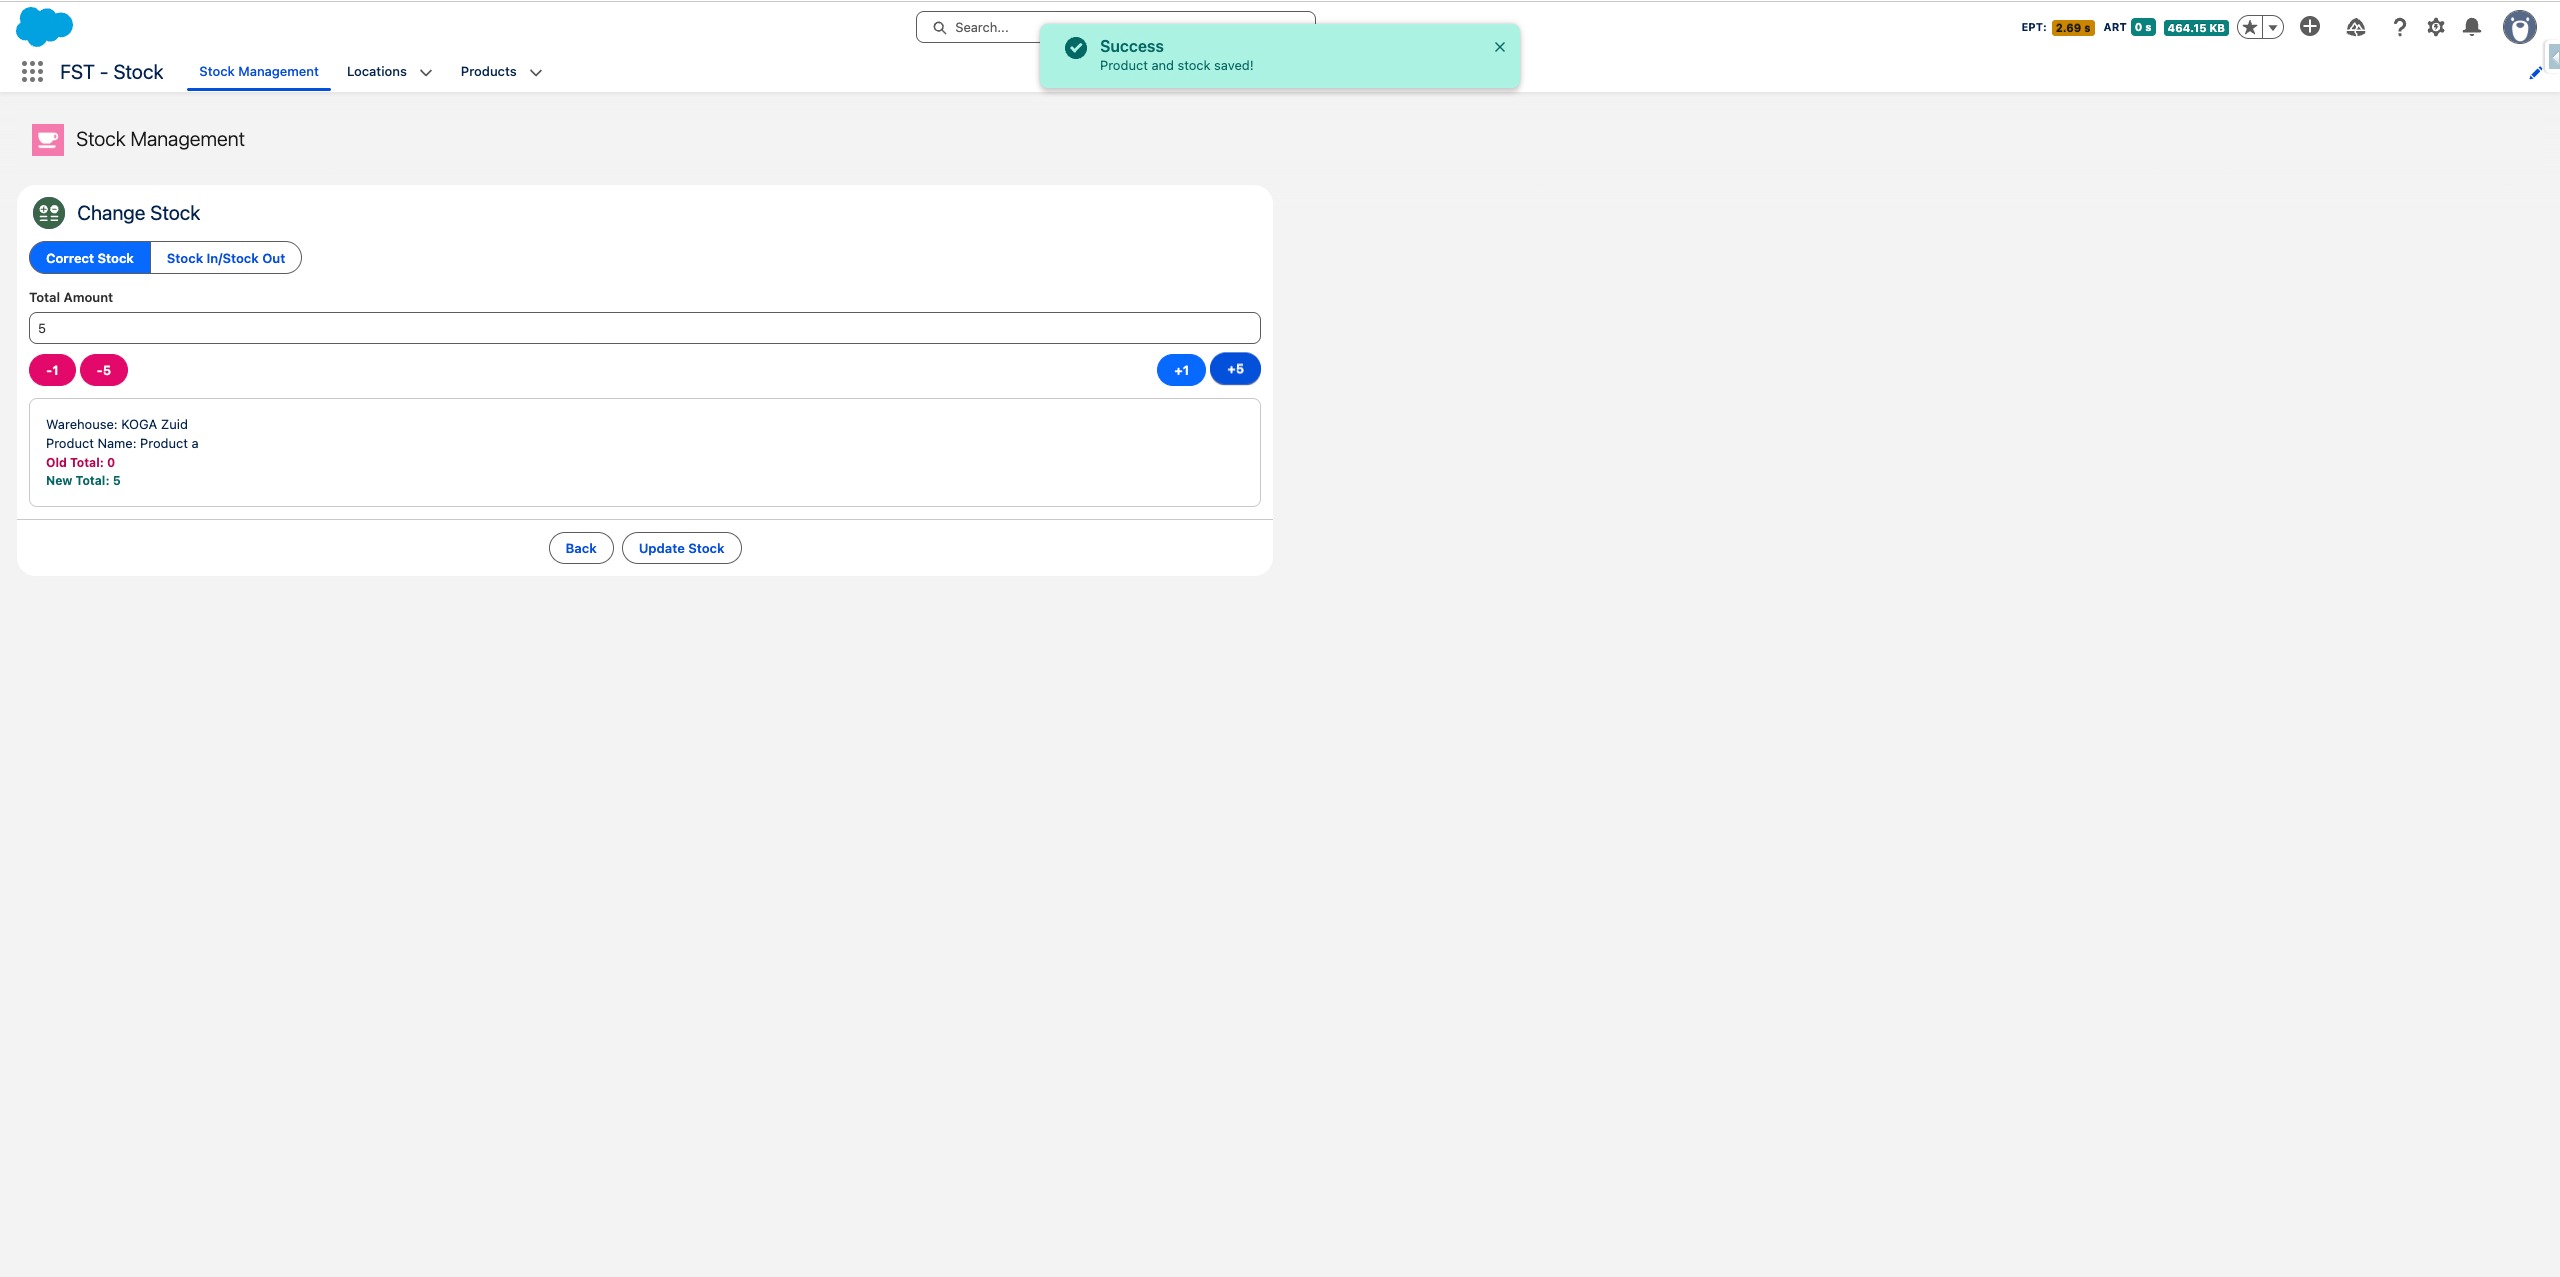
Switch to Correct Stock when you want to set the total amount directly — useful when doing a physical count.
Drag to pan
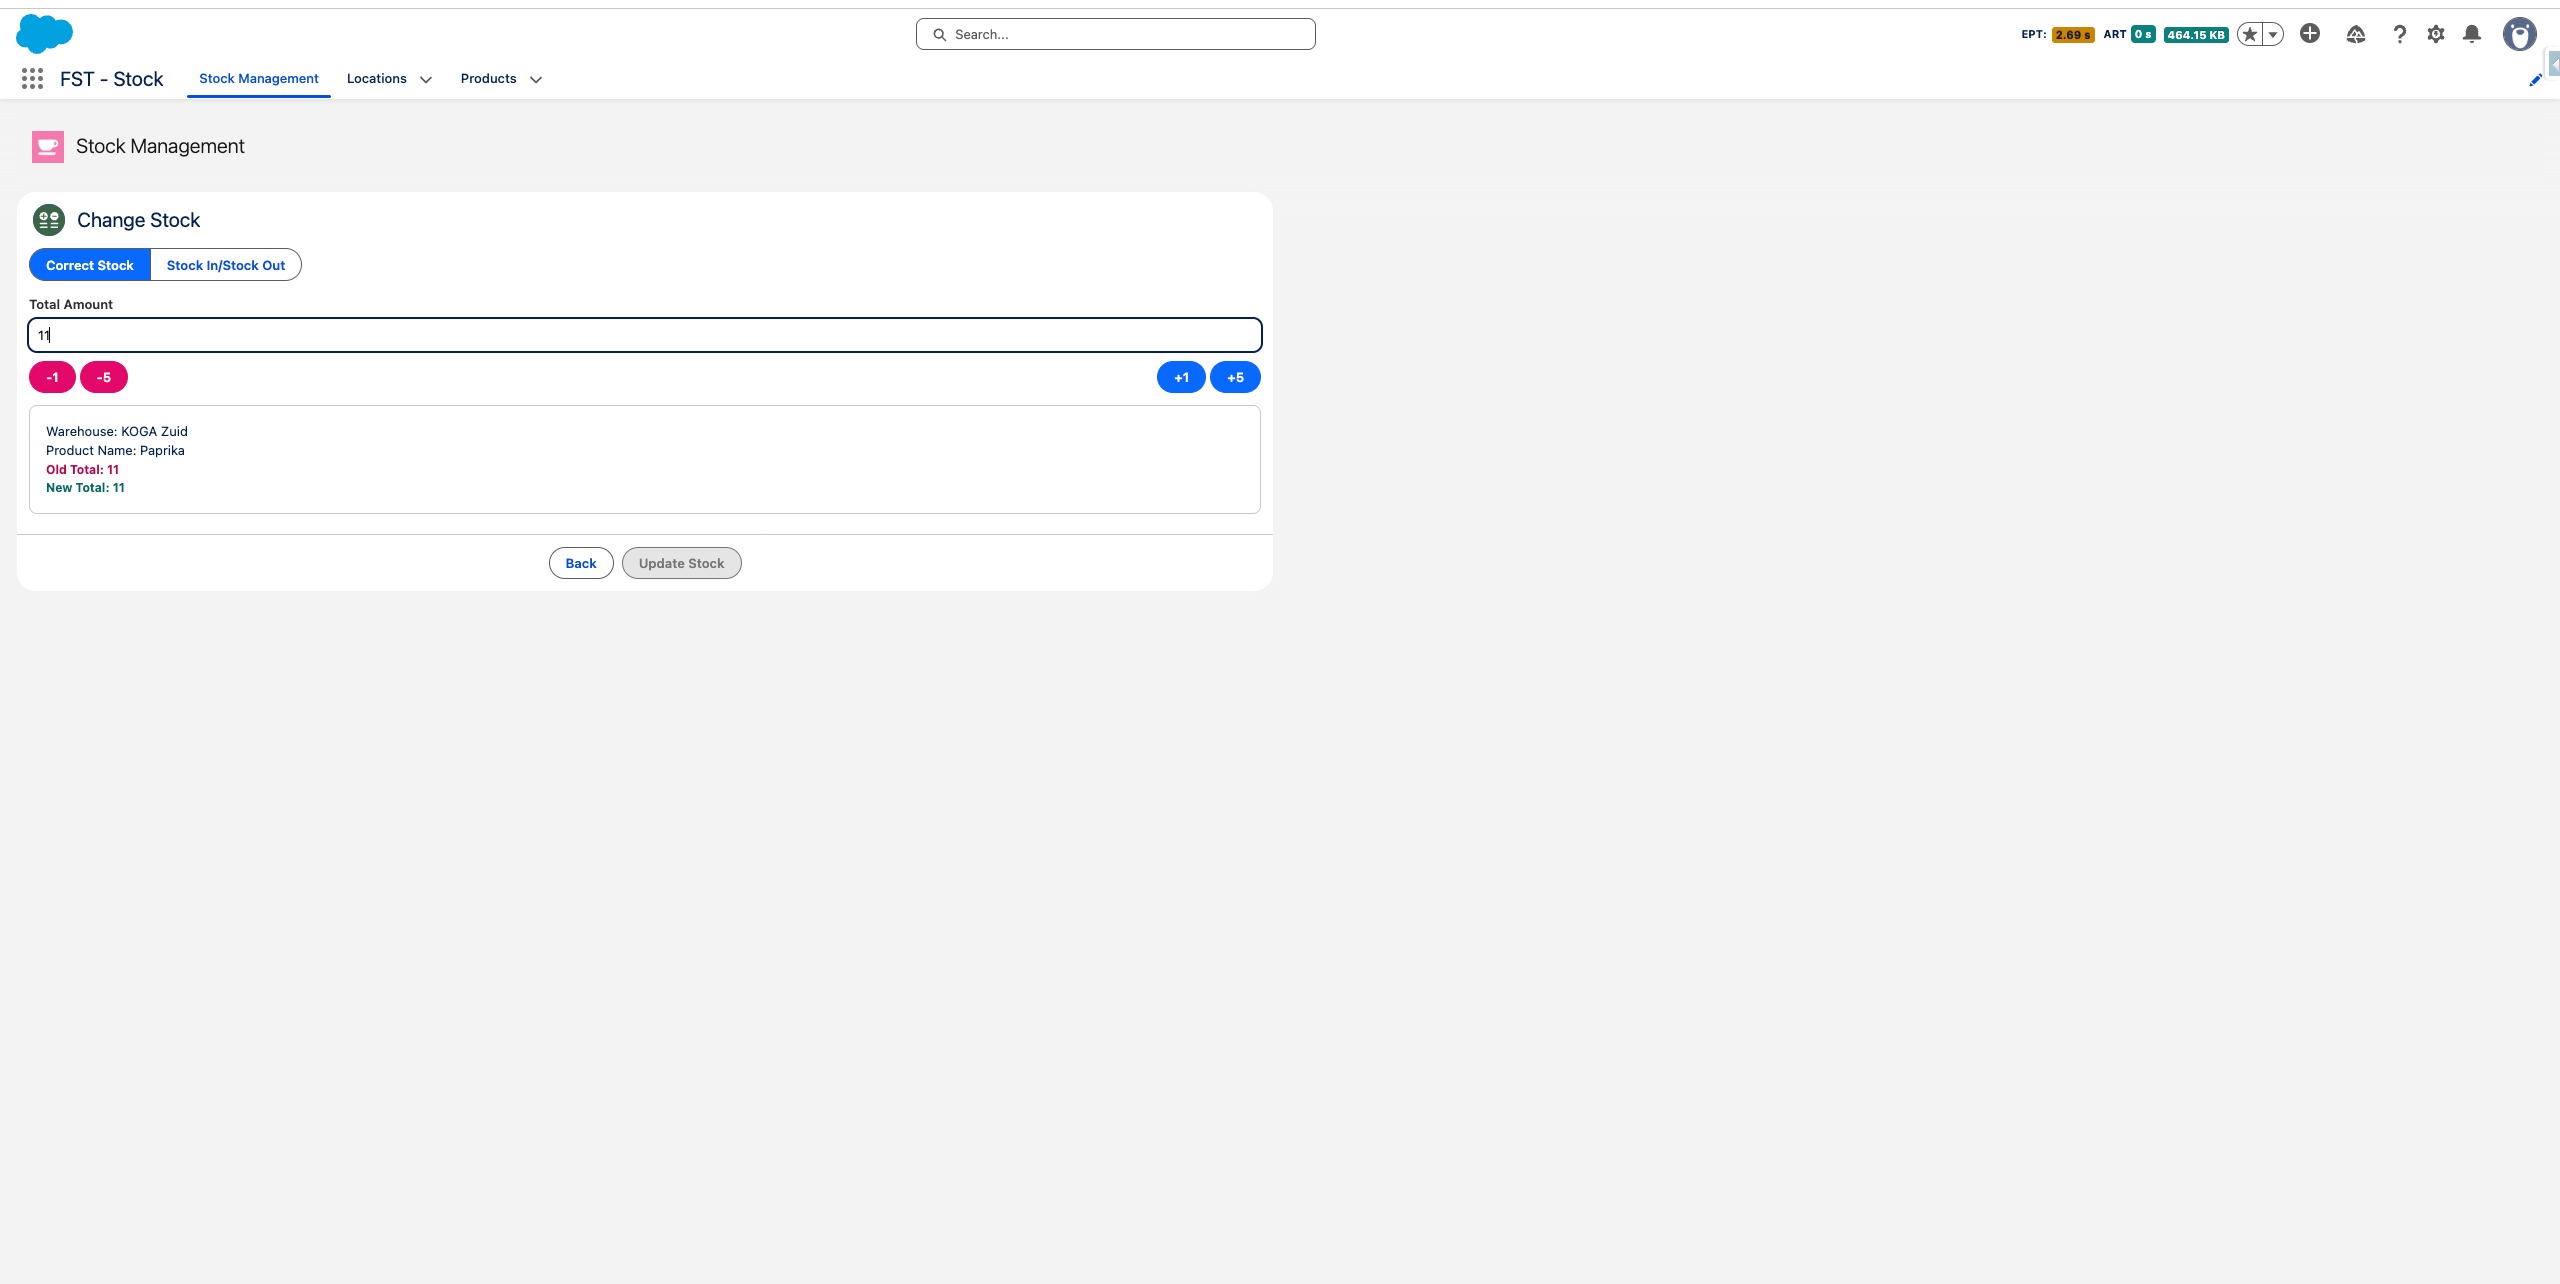
Enter the correct total or use the +/- buttons to adjust, then confirm the new amount.
Drag to pan
Press Update Stock to apply the correction and update the stock total.
Drag to pan
New Product
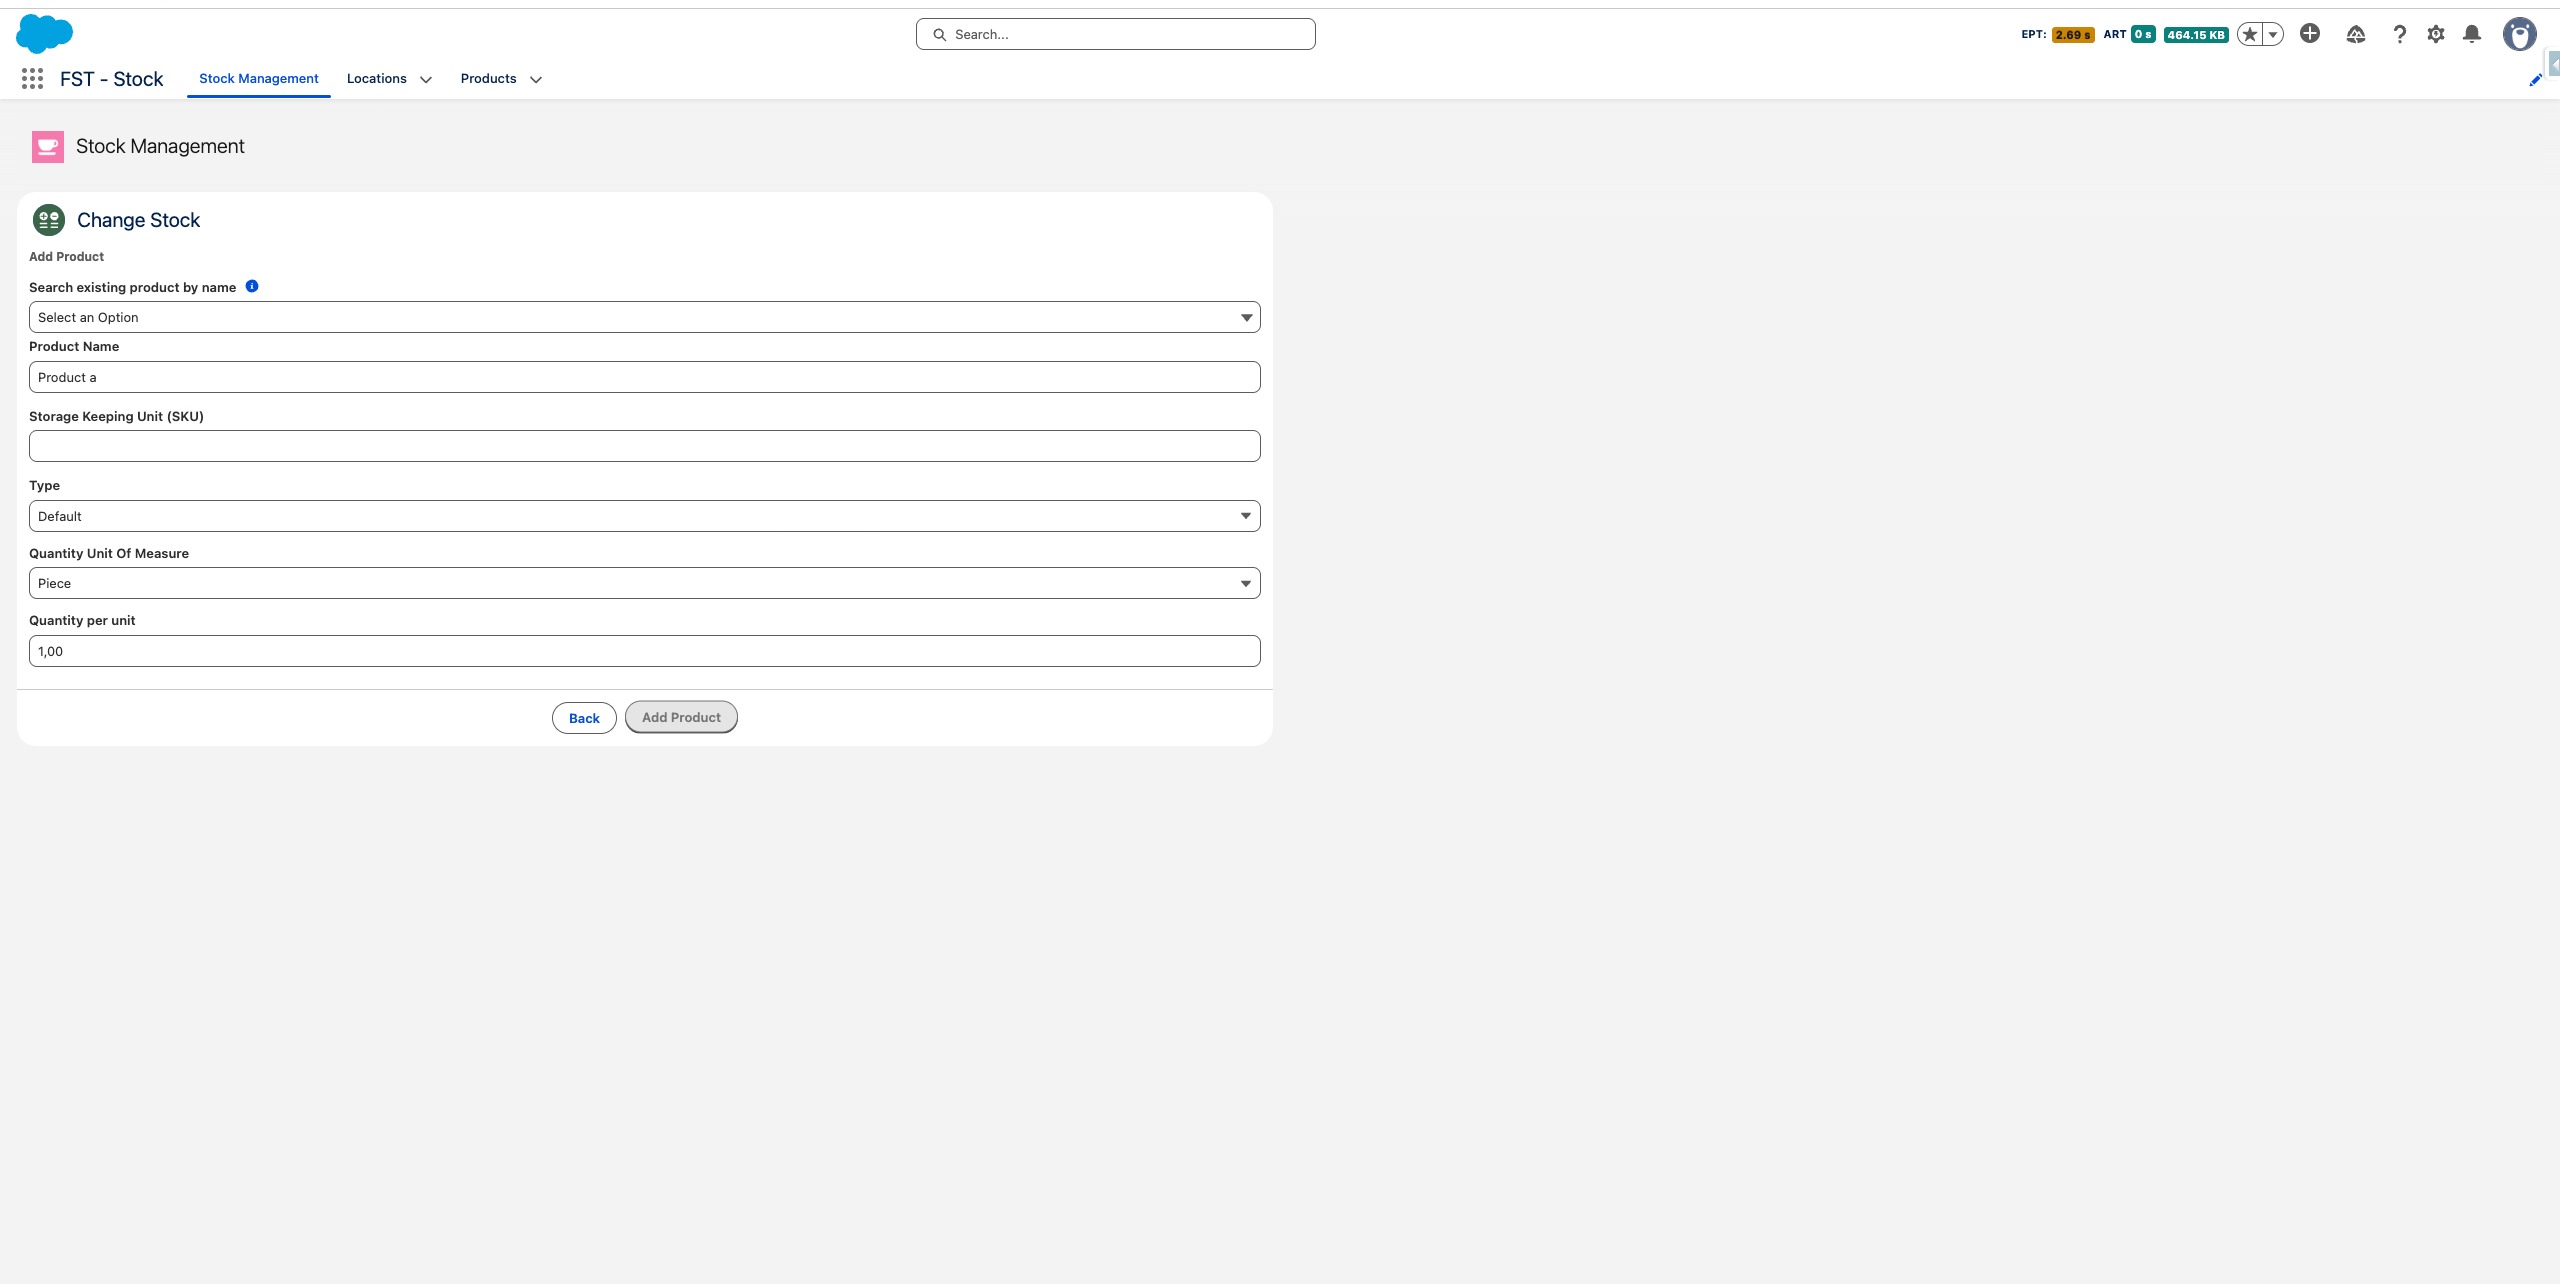
If a product doesn't exist yet, you'll be prompted to create it. On mobile, the new product form opens automatically after scanning an unknown barcode.
Drag to pan
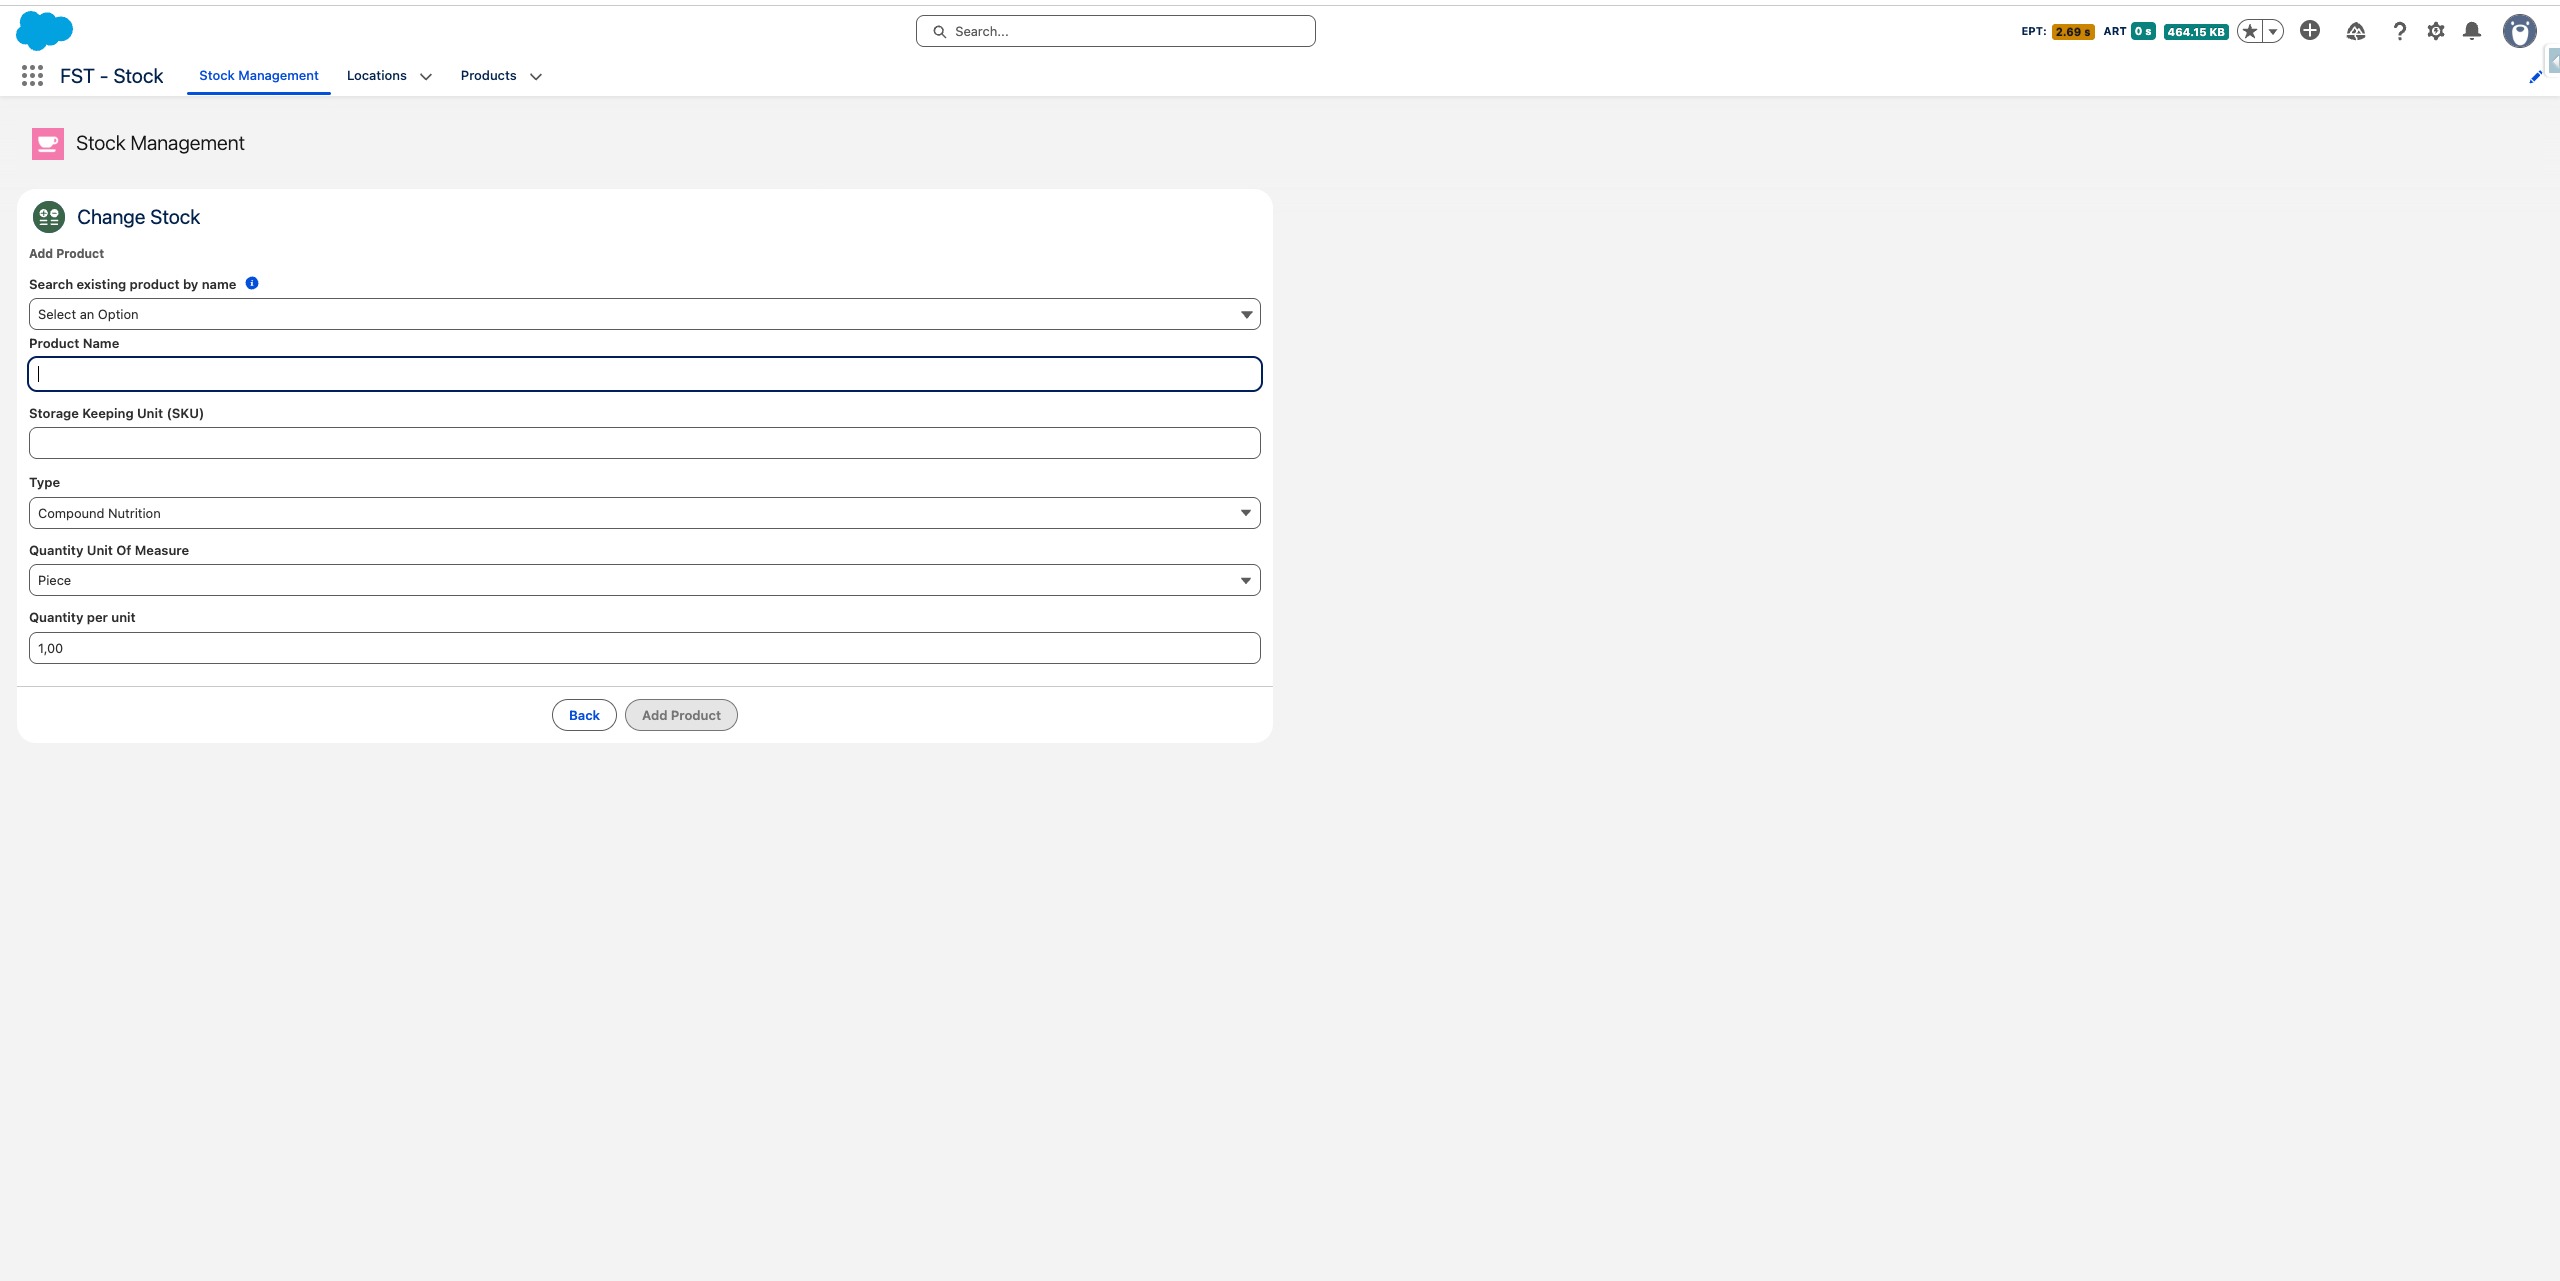
Fill in the product details
Drag to pan
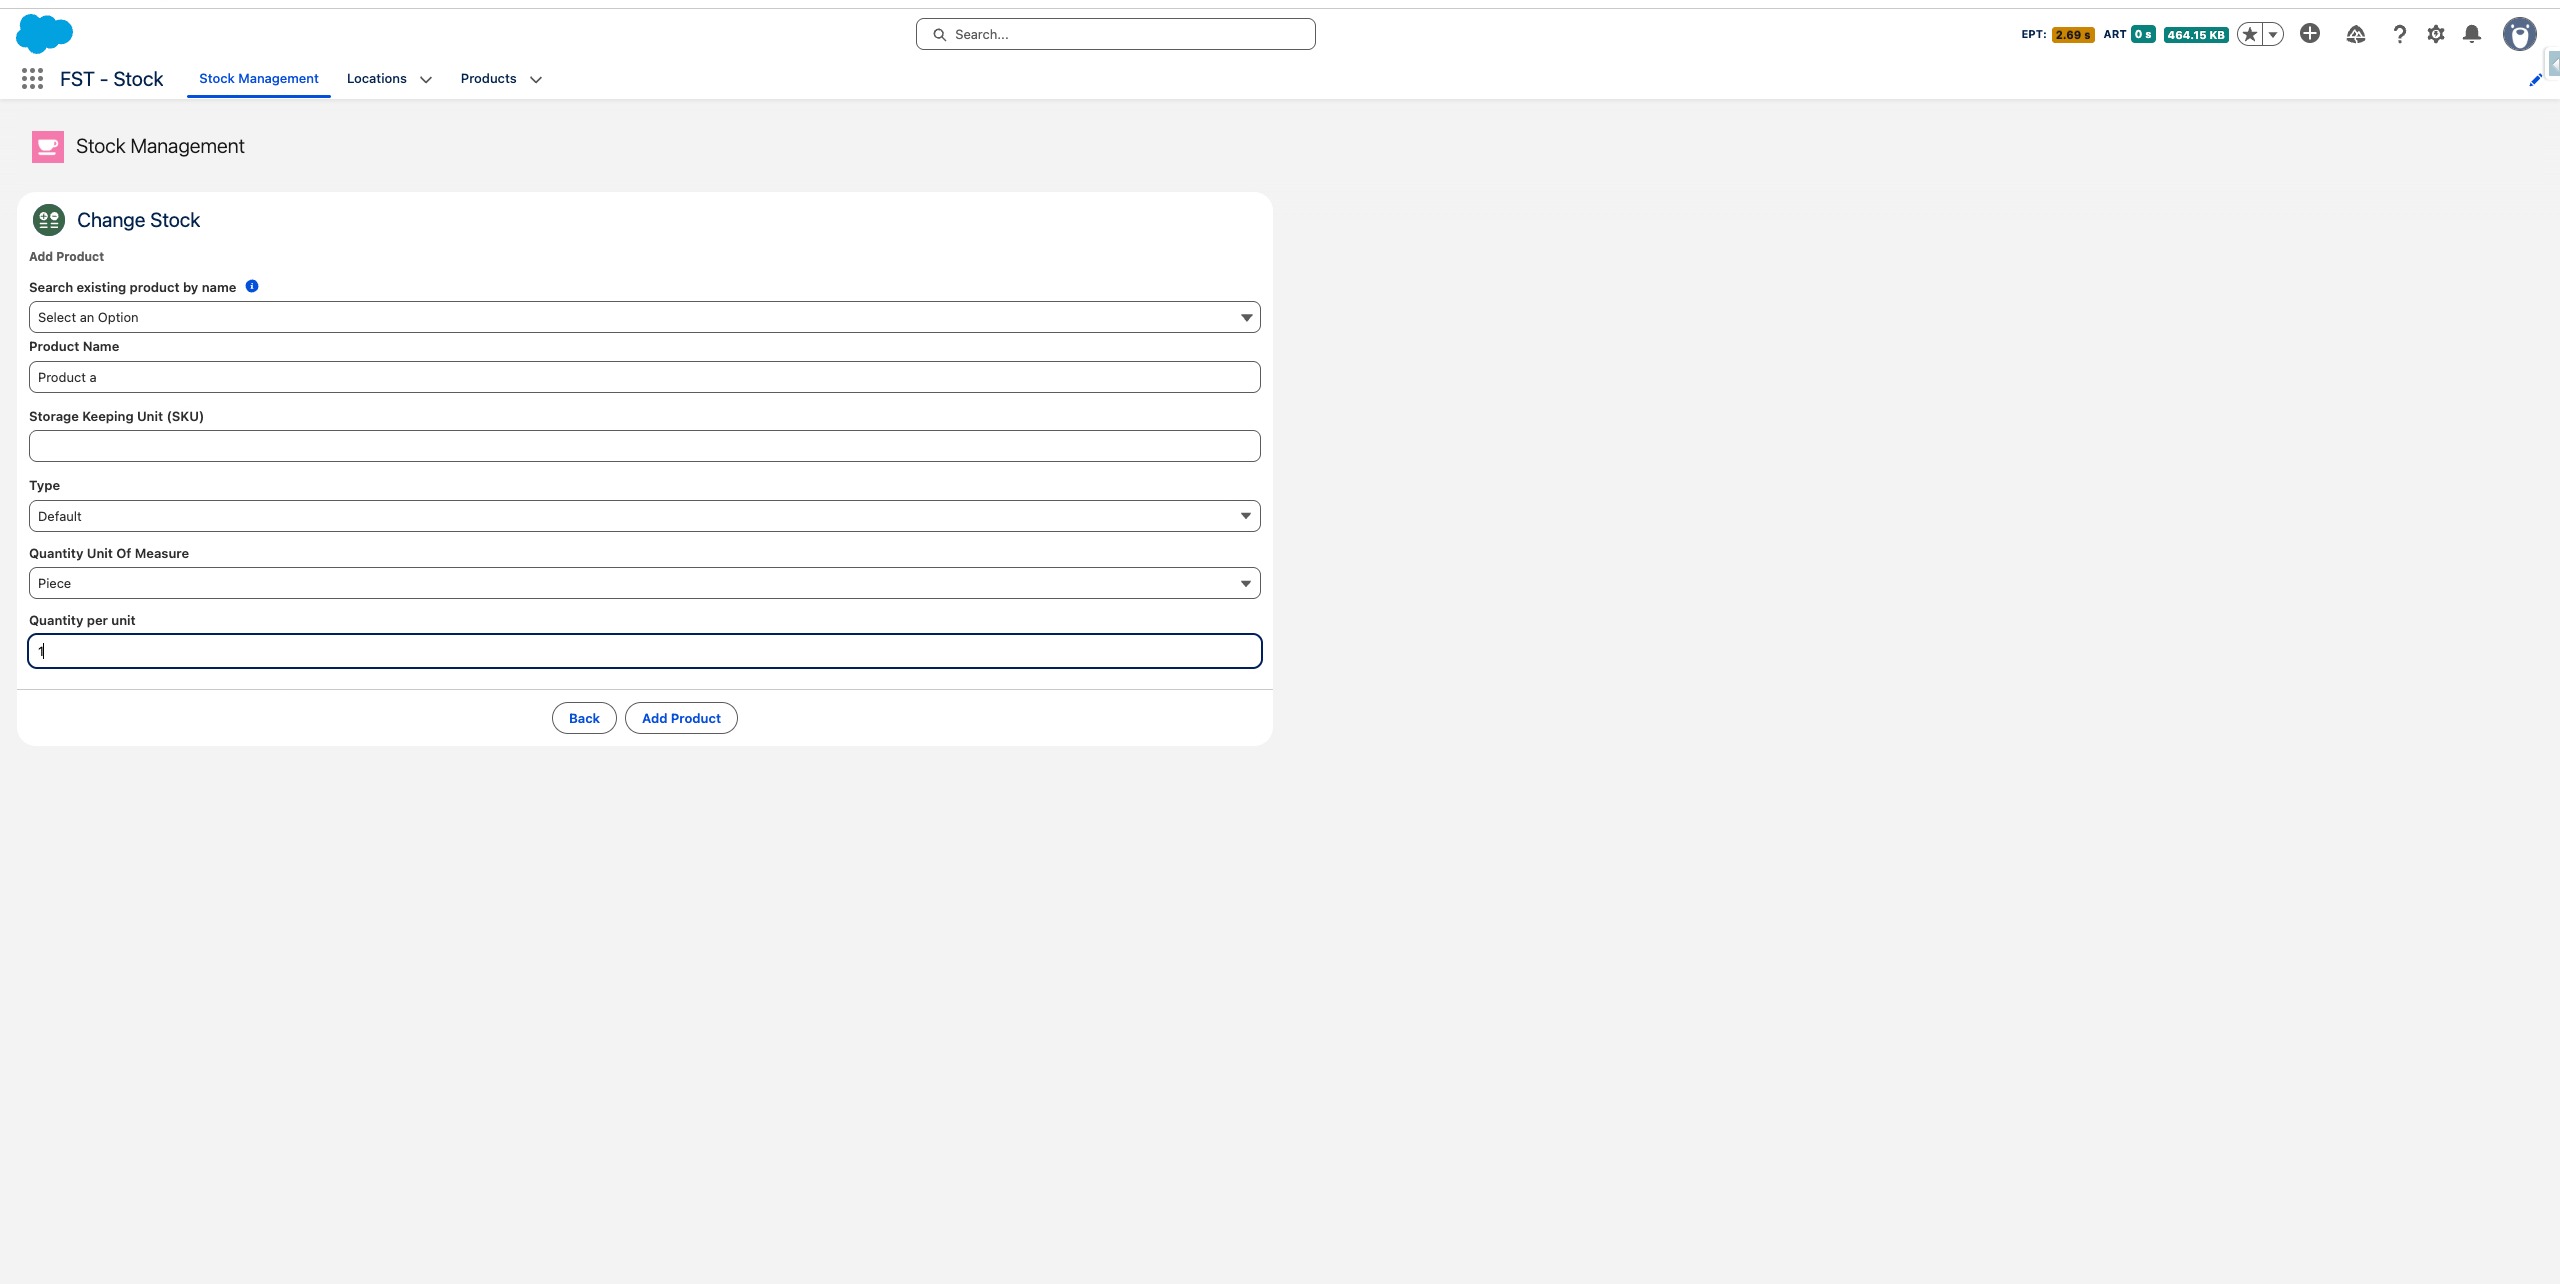
The Quantity per unit field defines how much is in one unit — for example, 6 pieces per carton or 6 liters per carton of milk.
Drag to pan
Press Add Product to finalize and create the new product.
Drag to pan
Once the product is created, you land directly on the stock adjustment page to set the initial stock level.
Drag to pan